Location-Based Workflow
You can trigger workflows based on location. This gives you full control over which device is used for presence detection and even Android devices can be integrated.
Good to know: Setting up the States and automations is a one-time task. Once configured, you can use the presence detection across all your workflows - as a Start Event, Condition, Step, or Stop Event.
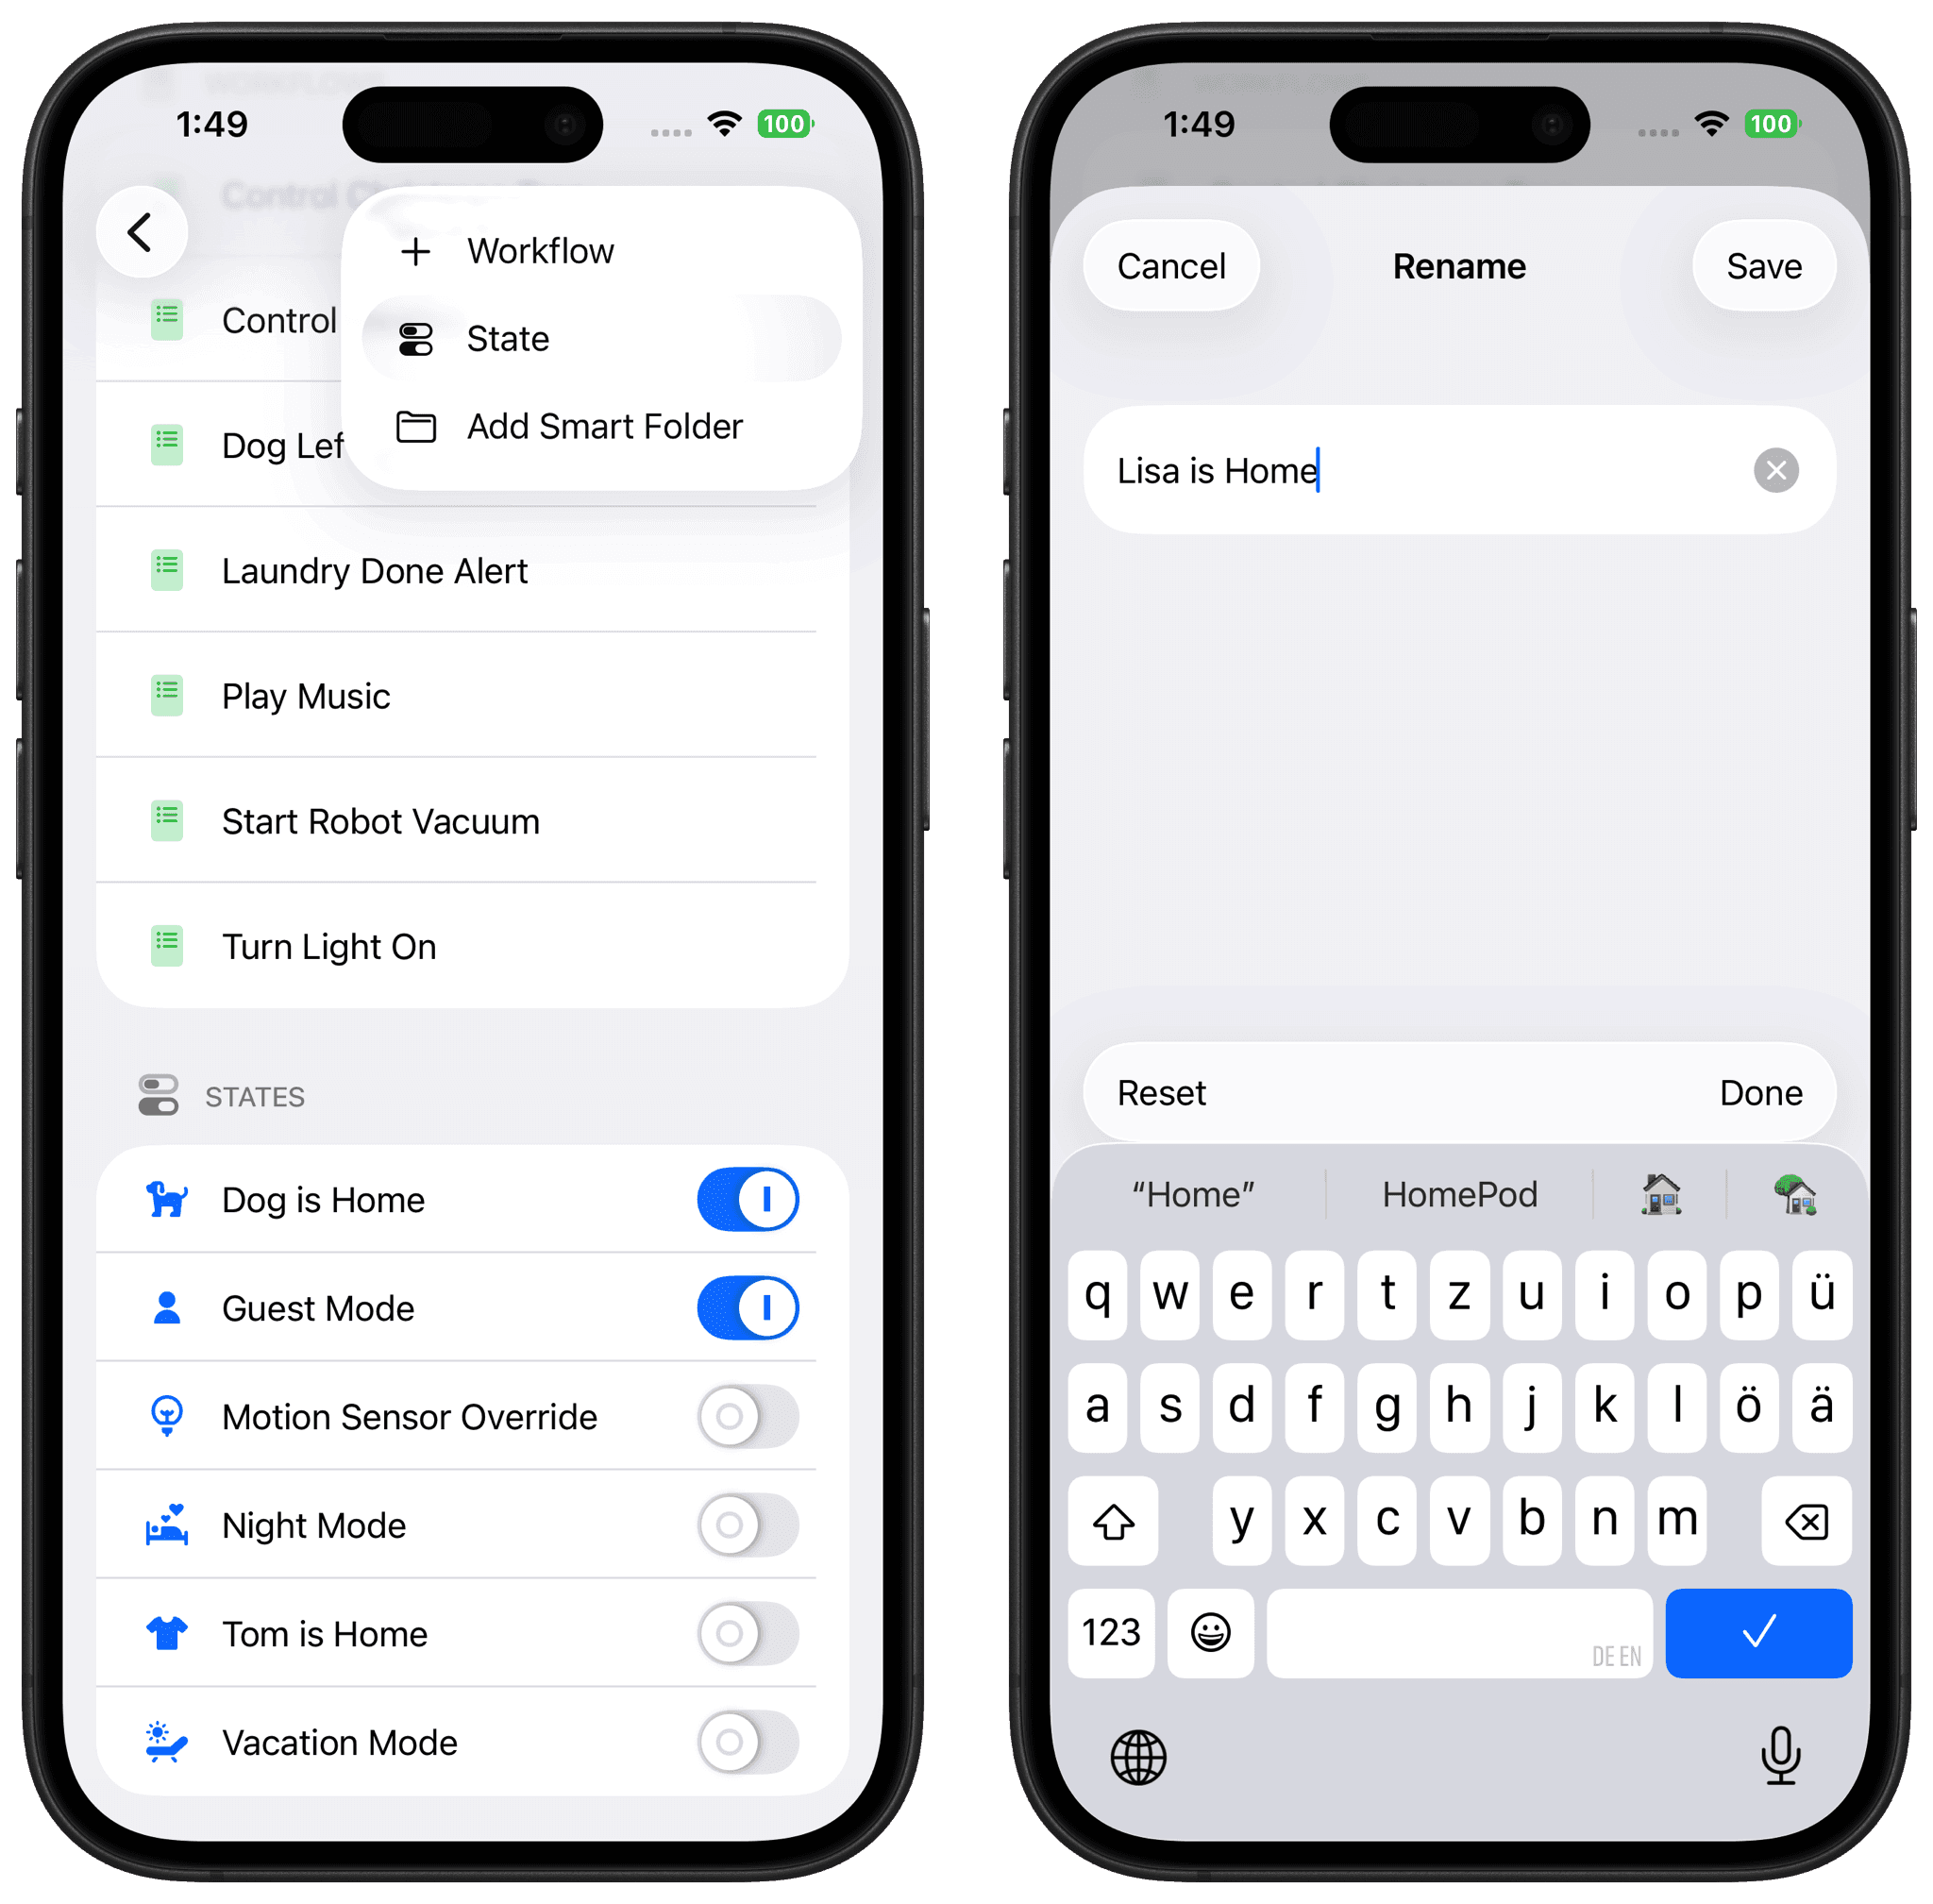
Set Up States
Start by creating a separate State for each person in Workflows. These states will be used to track presence.
Create Presence Detection with Shortcuts
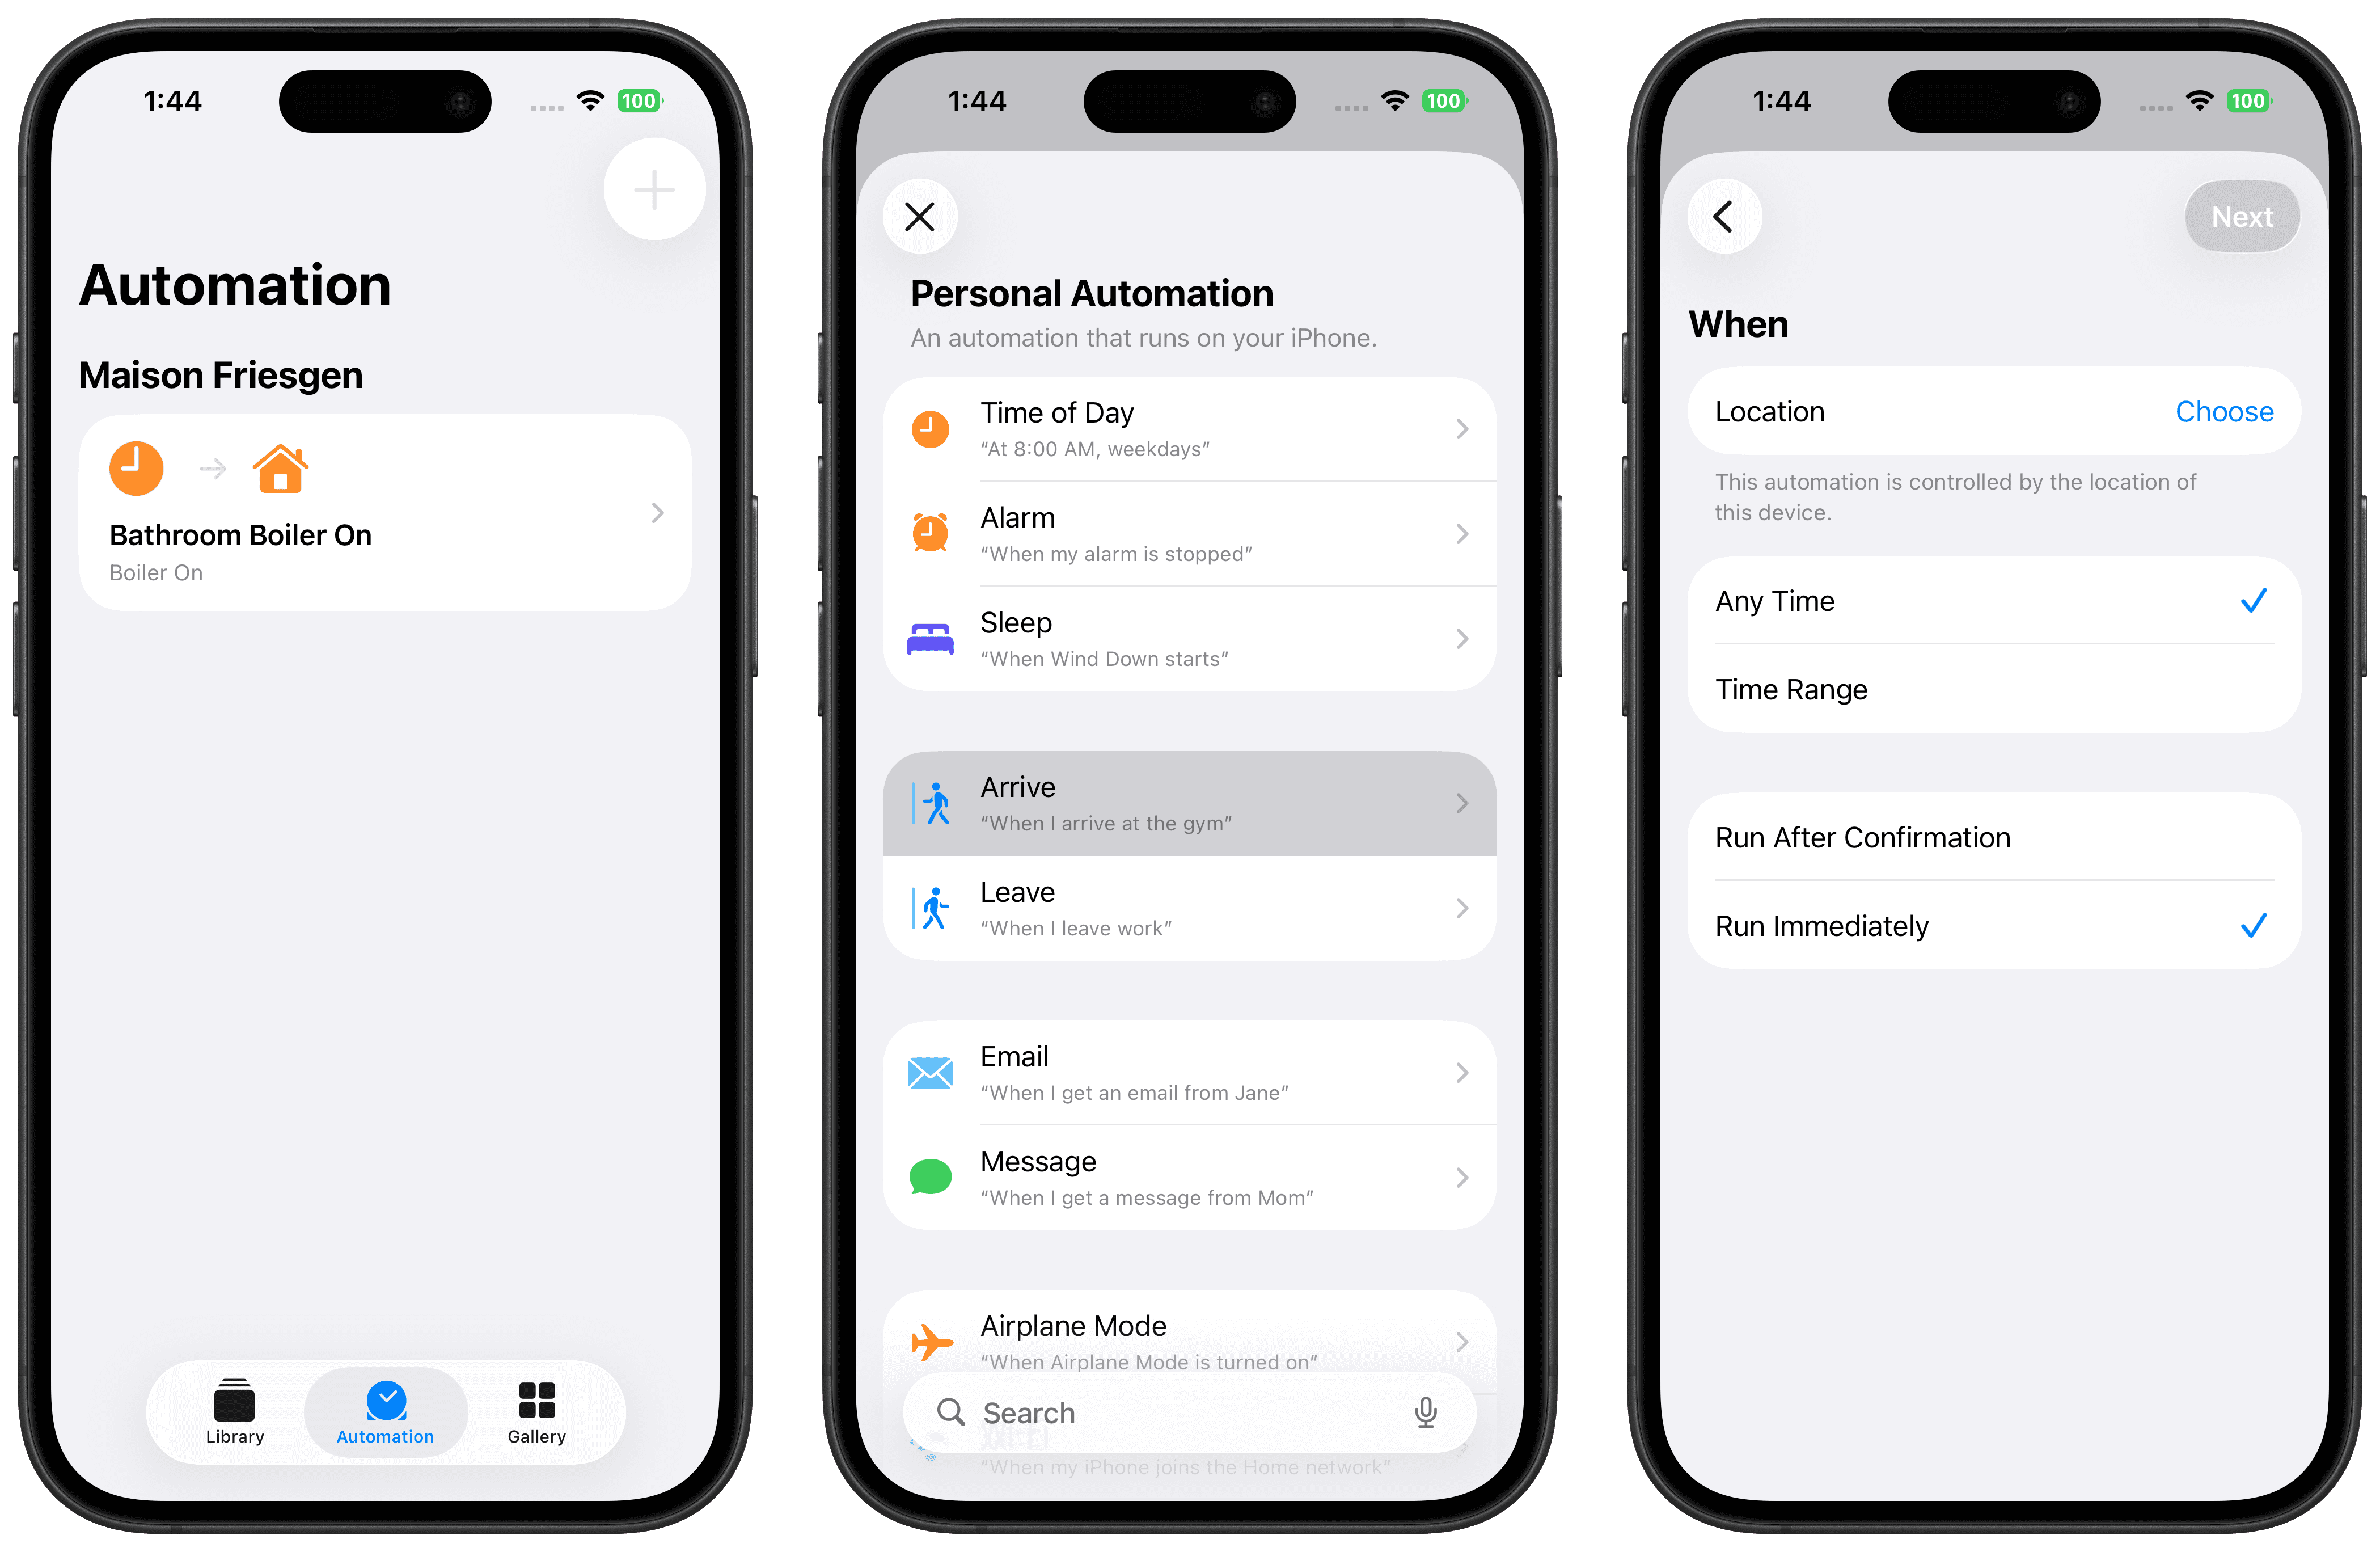
Next, set up an automation in the Shortcuts app on the device that should detect presence:
- Open the Shortcuts app and go to the Automation tab.
- Create a new automation with the "Arrive" trigger.
- Choose your location, select "Anytime" and enable "Run Immediately".
- Tap Next and select "Create New Shortcut".
Option A: Device with Controller and access to States
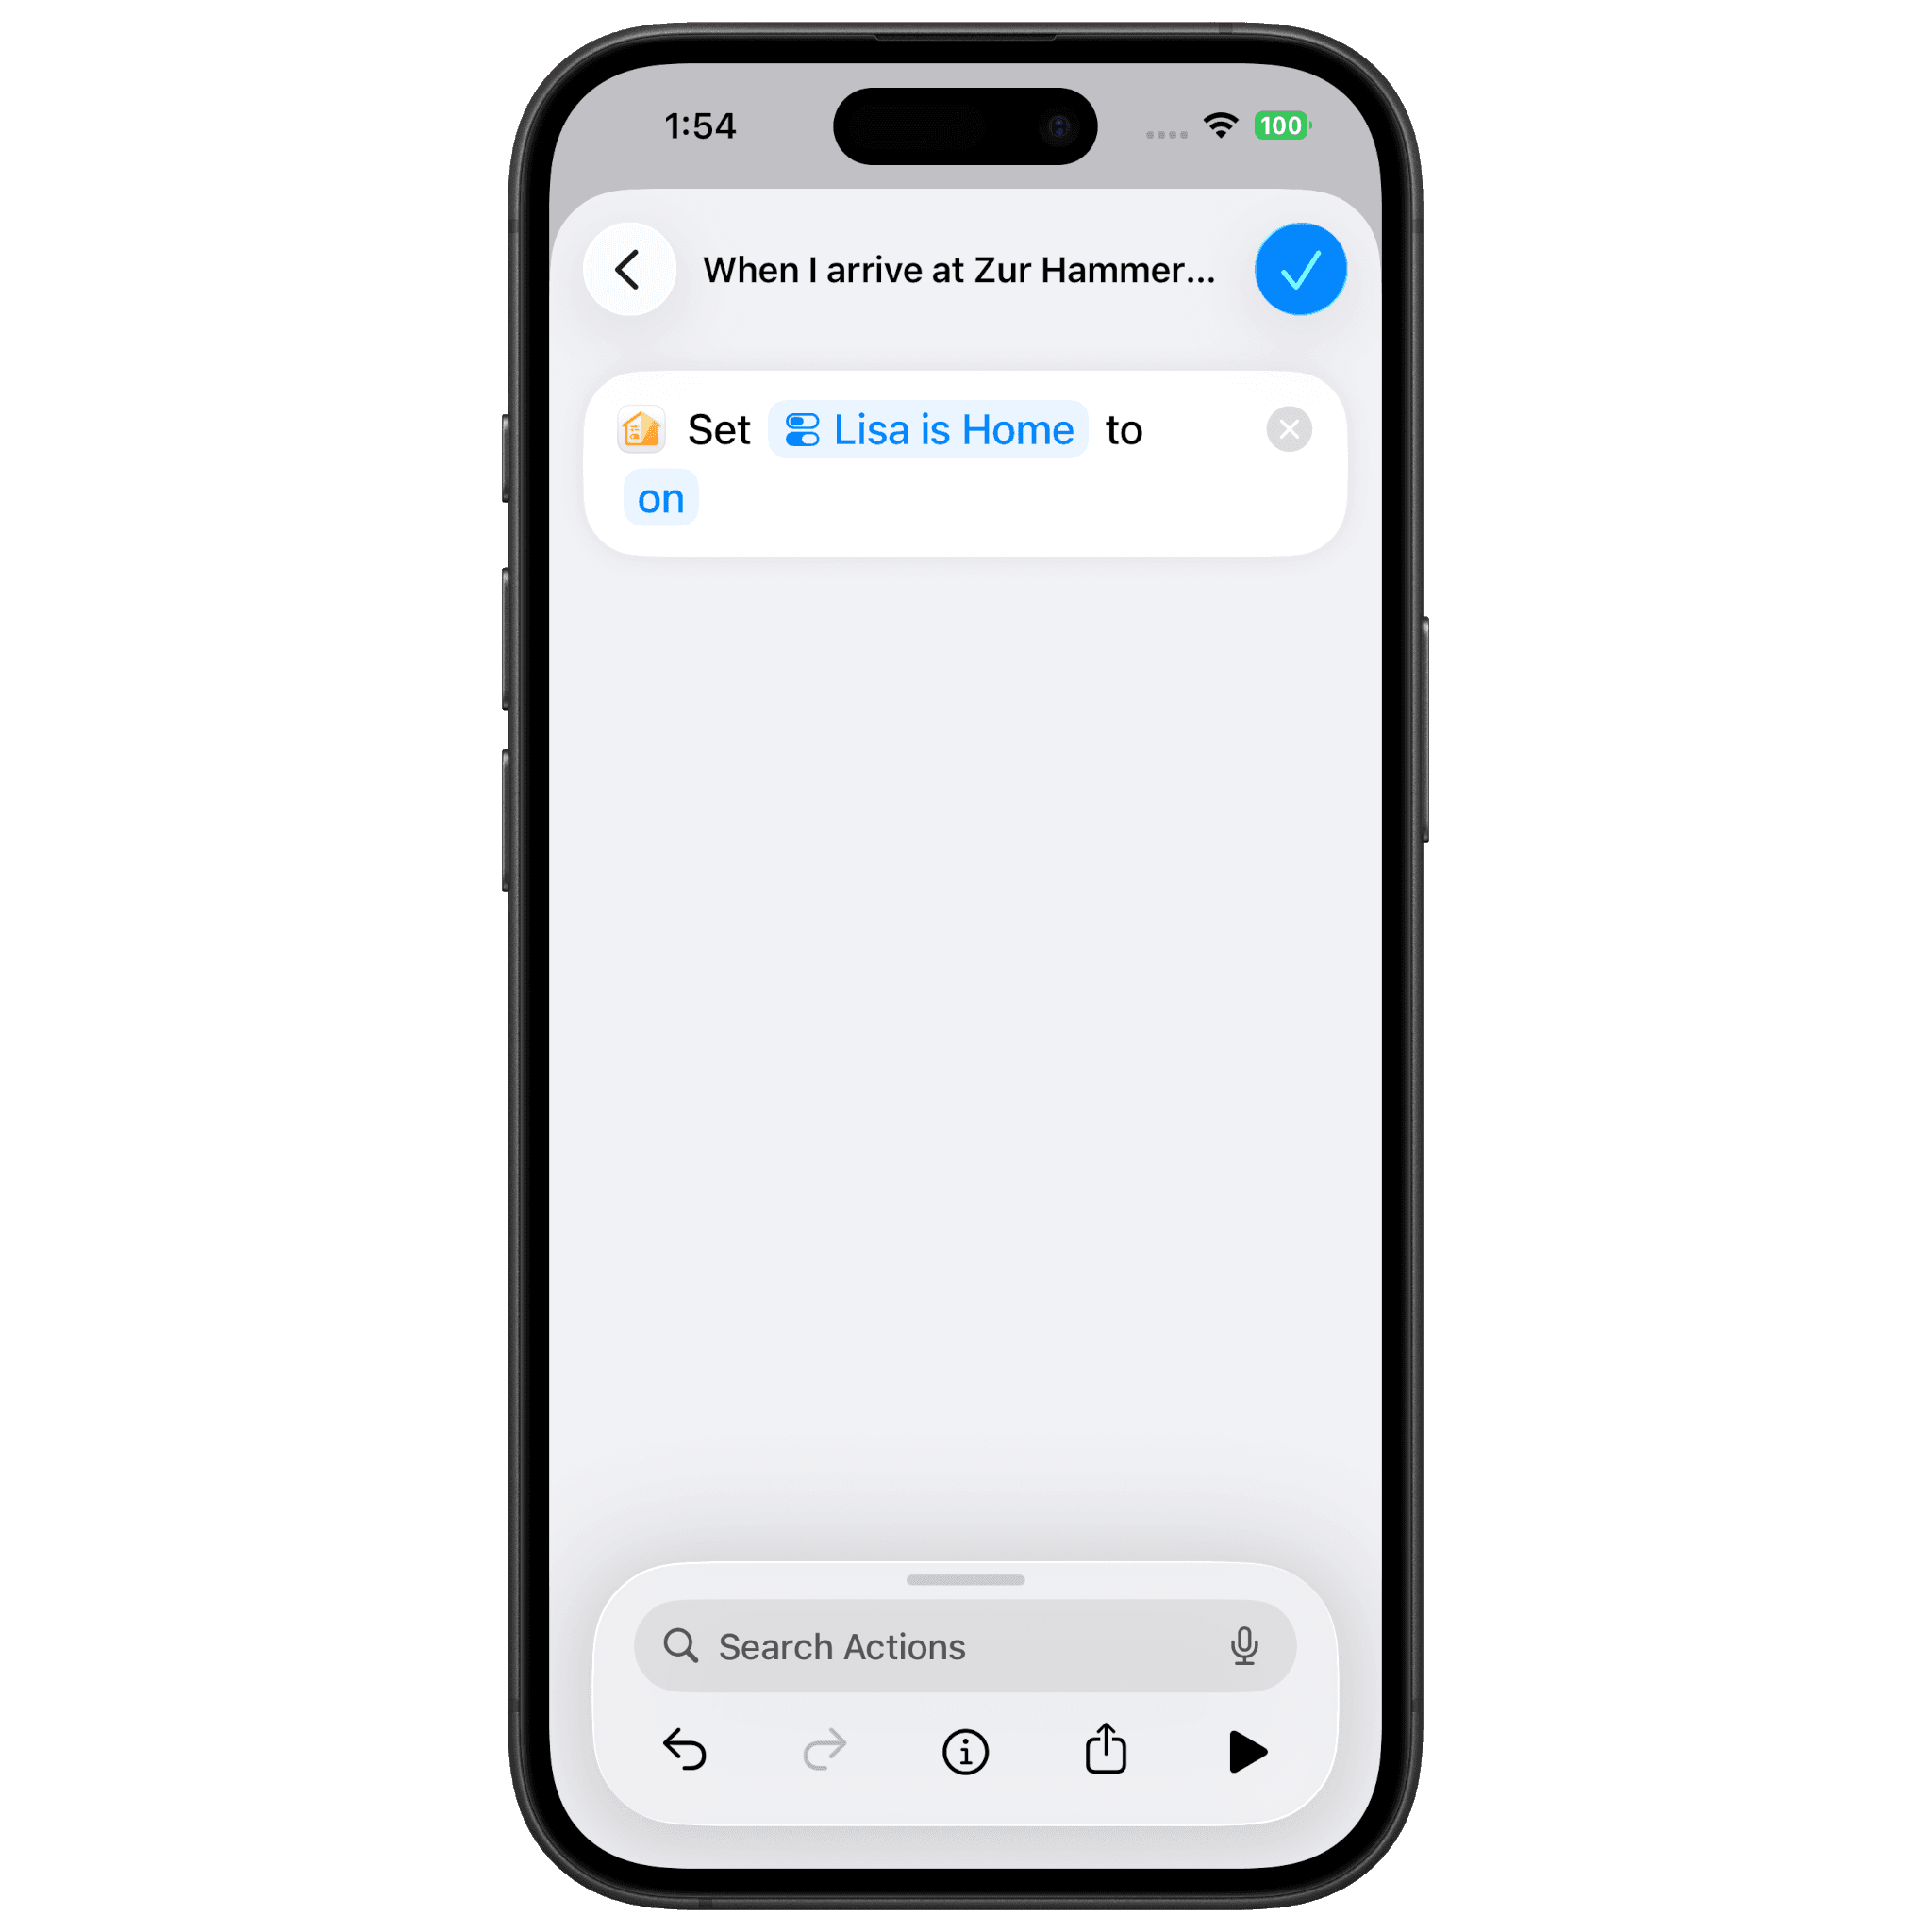
In the newly created shortcut:
- Add the "Set State" action from the Controller app.
- Select the previously created State (e.g. "Lisa is home").
- Save the shortcut.
Option B: Housemates, iPhones without Controller or Android Phones
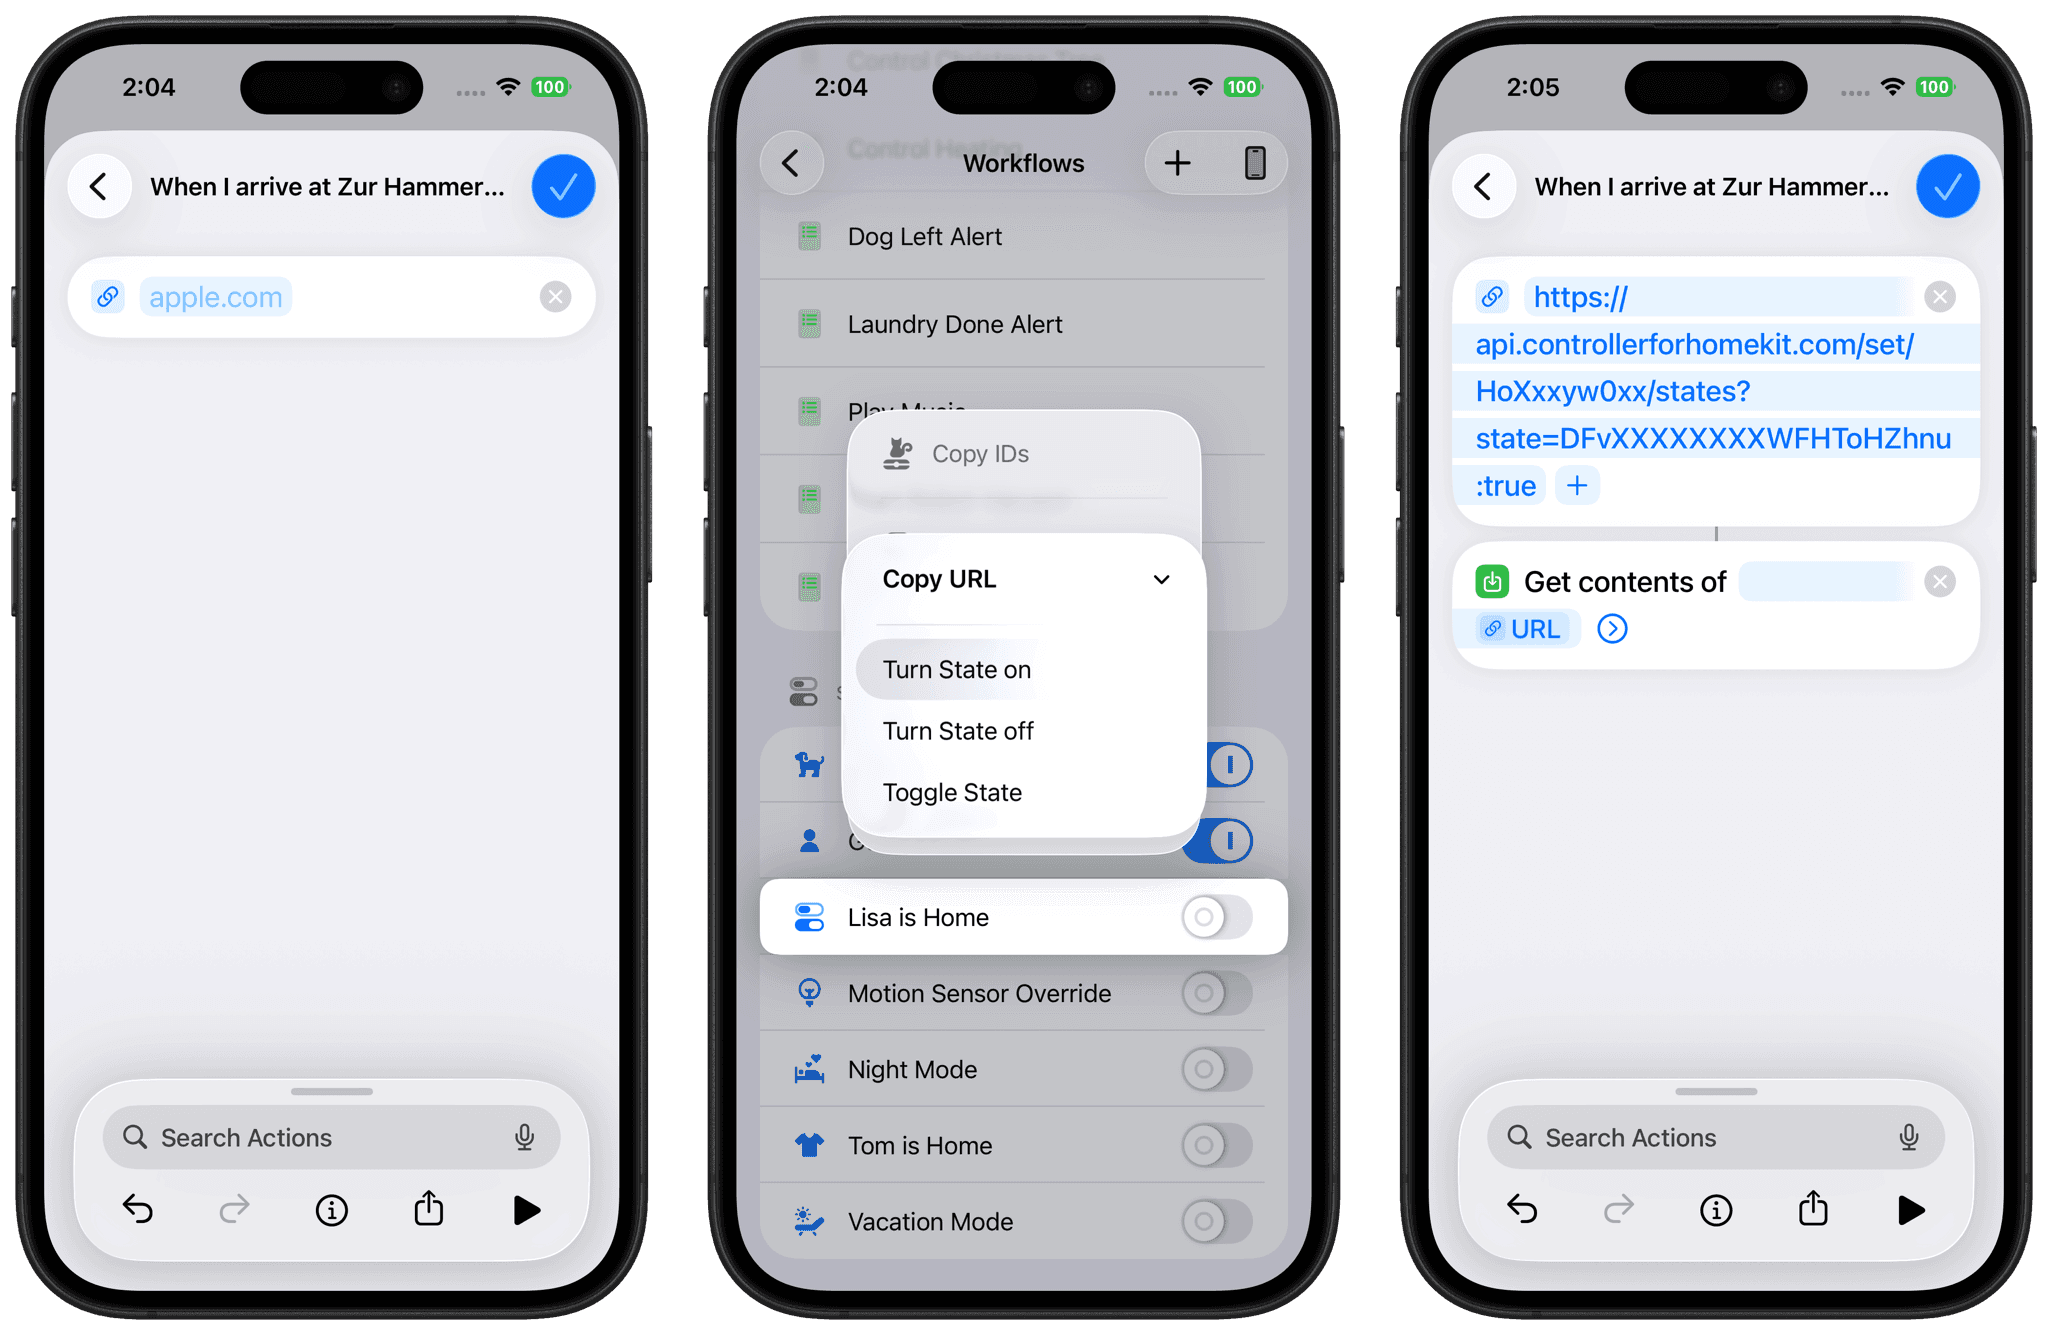
In the newly created shortcut:
- Add "URL" as action.
- Copy the required URL from the State context menu in Controller (long-press the State > Copy URL > Turn State on) and paste it into the URL field.
- Then add the "Get Contents of URL" action.
Set Up the "Leave" Trigger
Add another automated shortcut on the device, but this time choose "Leave" as the trigger. Make sure to configure the State action accordingly ("Turn State off").
Pro Tip: Android and Manual Triggers Supported
Android phones can also be integrated - you can use location-based automation apps (like Tasker or MacroDroid) to automatically trigger the State URL when arriving or leaving a place.
And if you ever leave the house without your smartphone (e.g. for a quick walk or run), you can still update your presence manually - either via the Controller app or by using a physical switch at the entrance.
That way, you don't have to give up presence detection and all workflows linked to it will continue to run as expected.
Using Presence in Workflows
You can use presence detection across all your workflows - as a start event, condition, step, or stop event. Below are a few examples.
Person X arrives home / Person X left home
Create a workflow and select the corresponding state (person) as the trigger.
The workflow runs as soon as this person arrives or leaves.

The first person arrives / The last person leaves
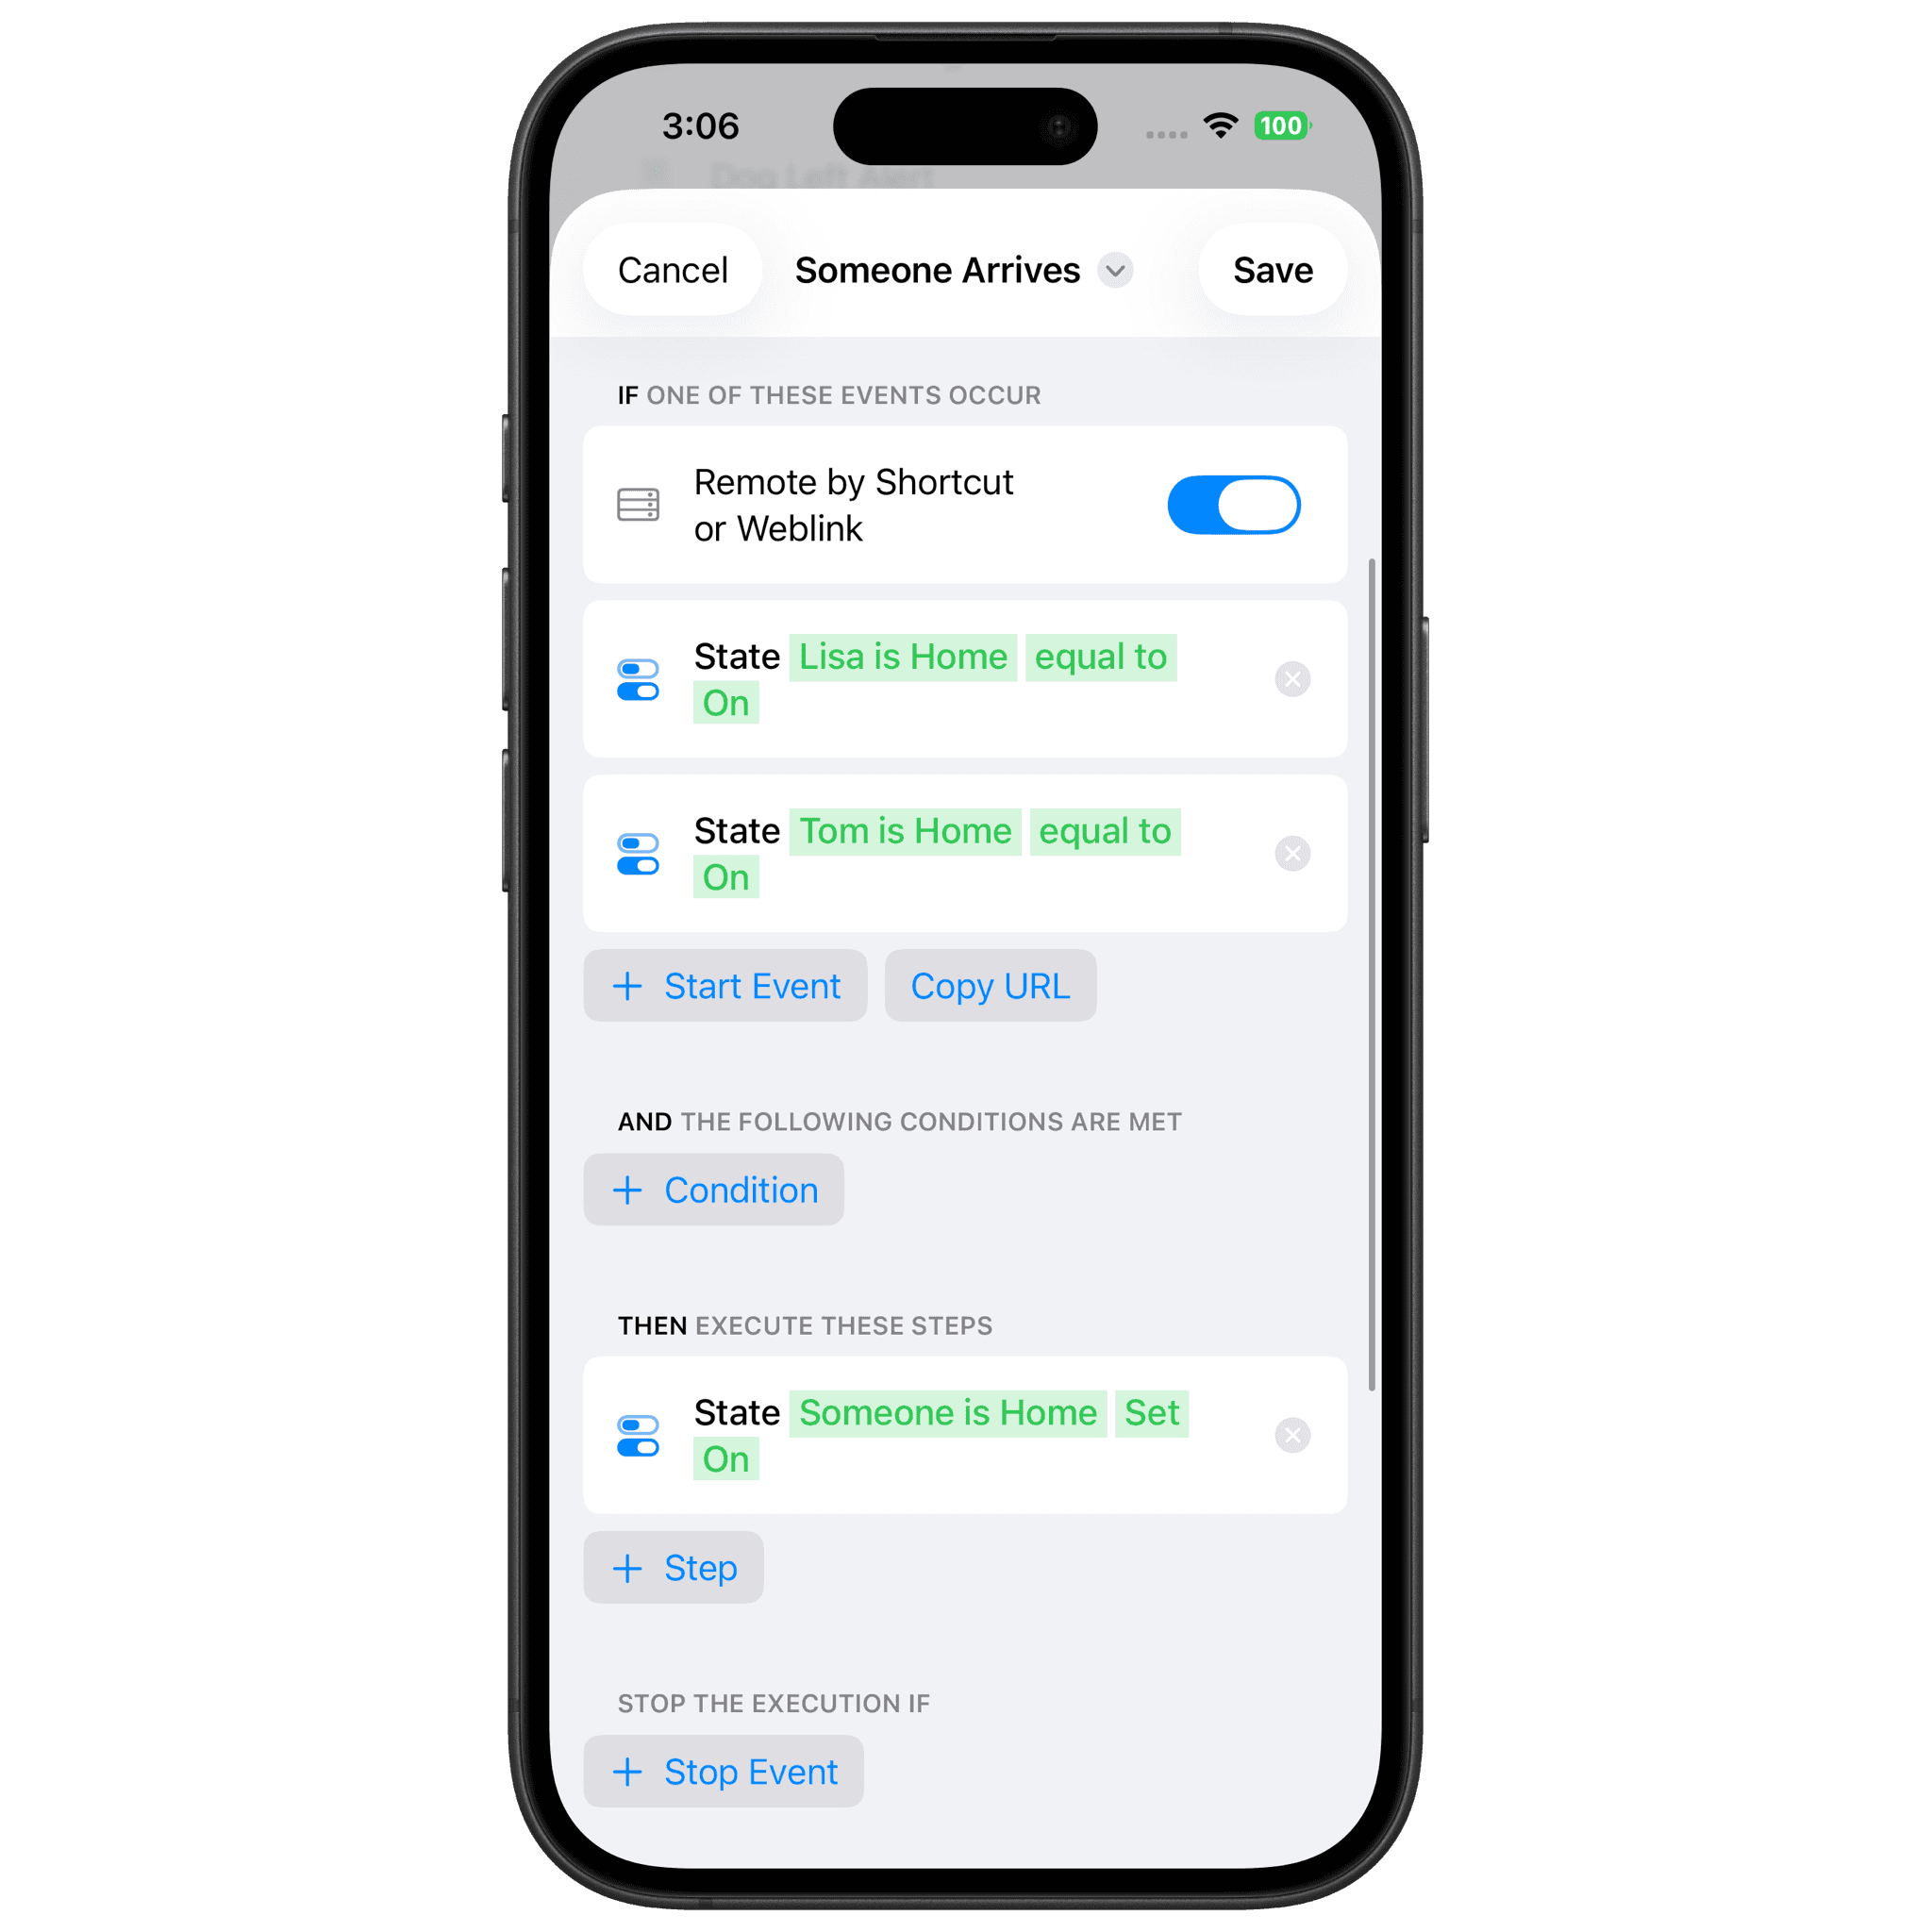
To set this up, create a new workflow called "Someone Arrives". Add each person's presence as a start event, triggered when their state turns on. Then add a State step, create a new state called "Someone is Home", and turn it on. Enable the workflow and save it.
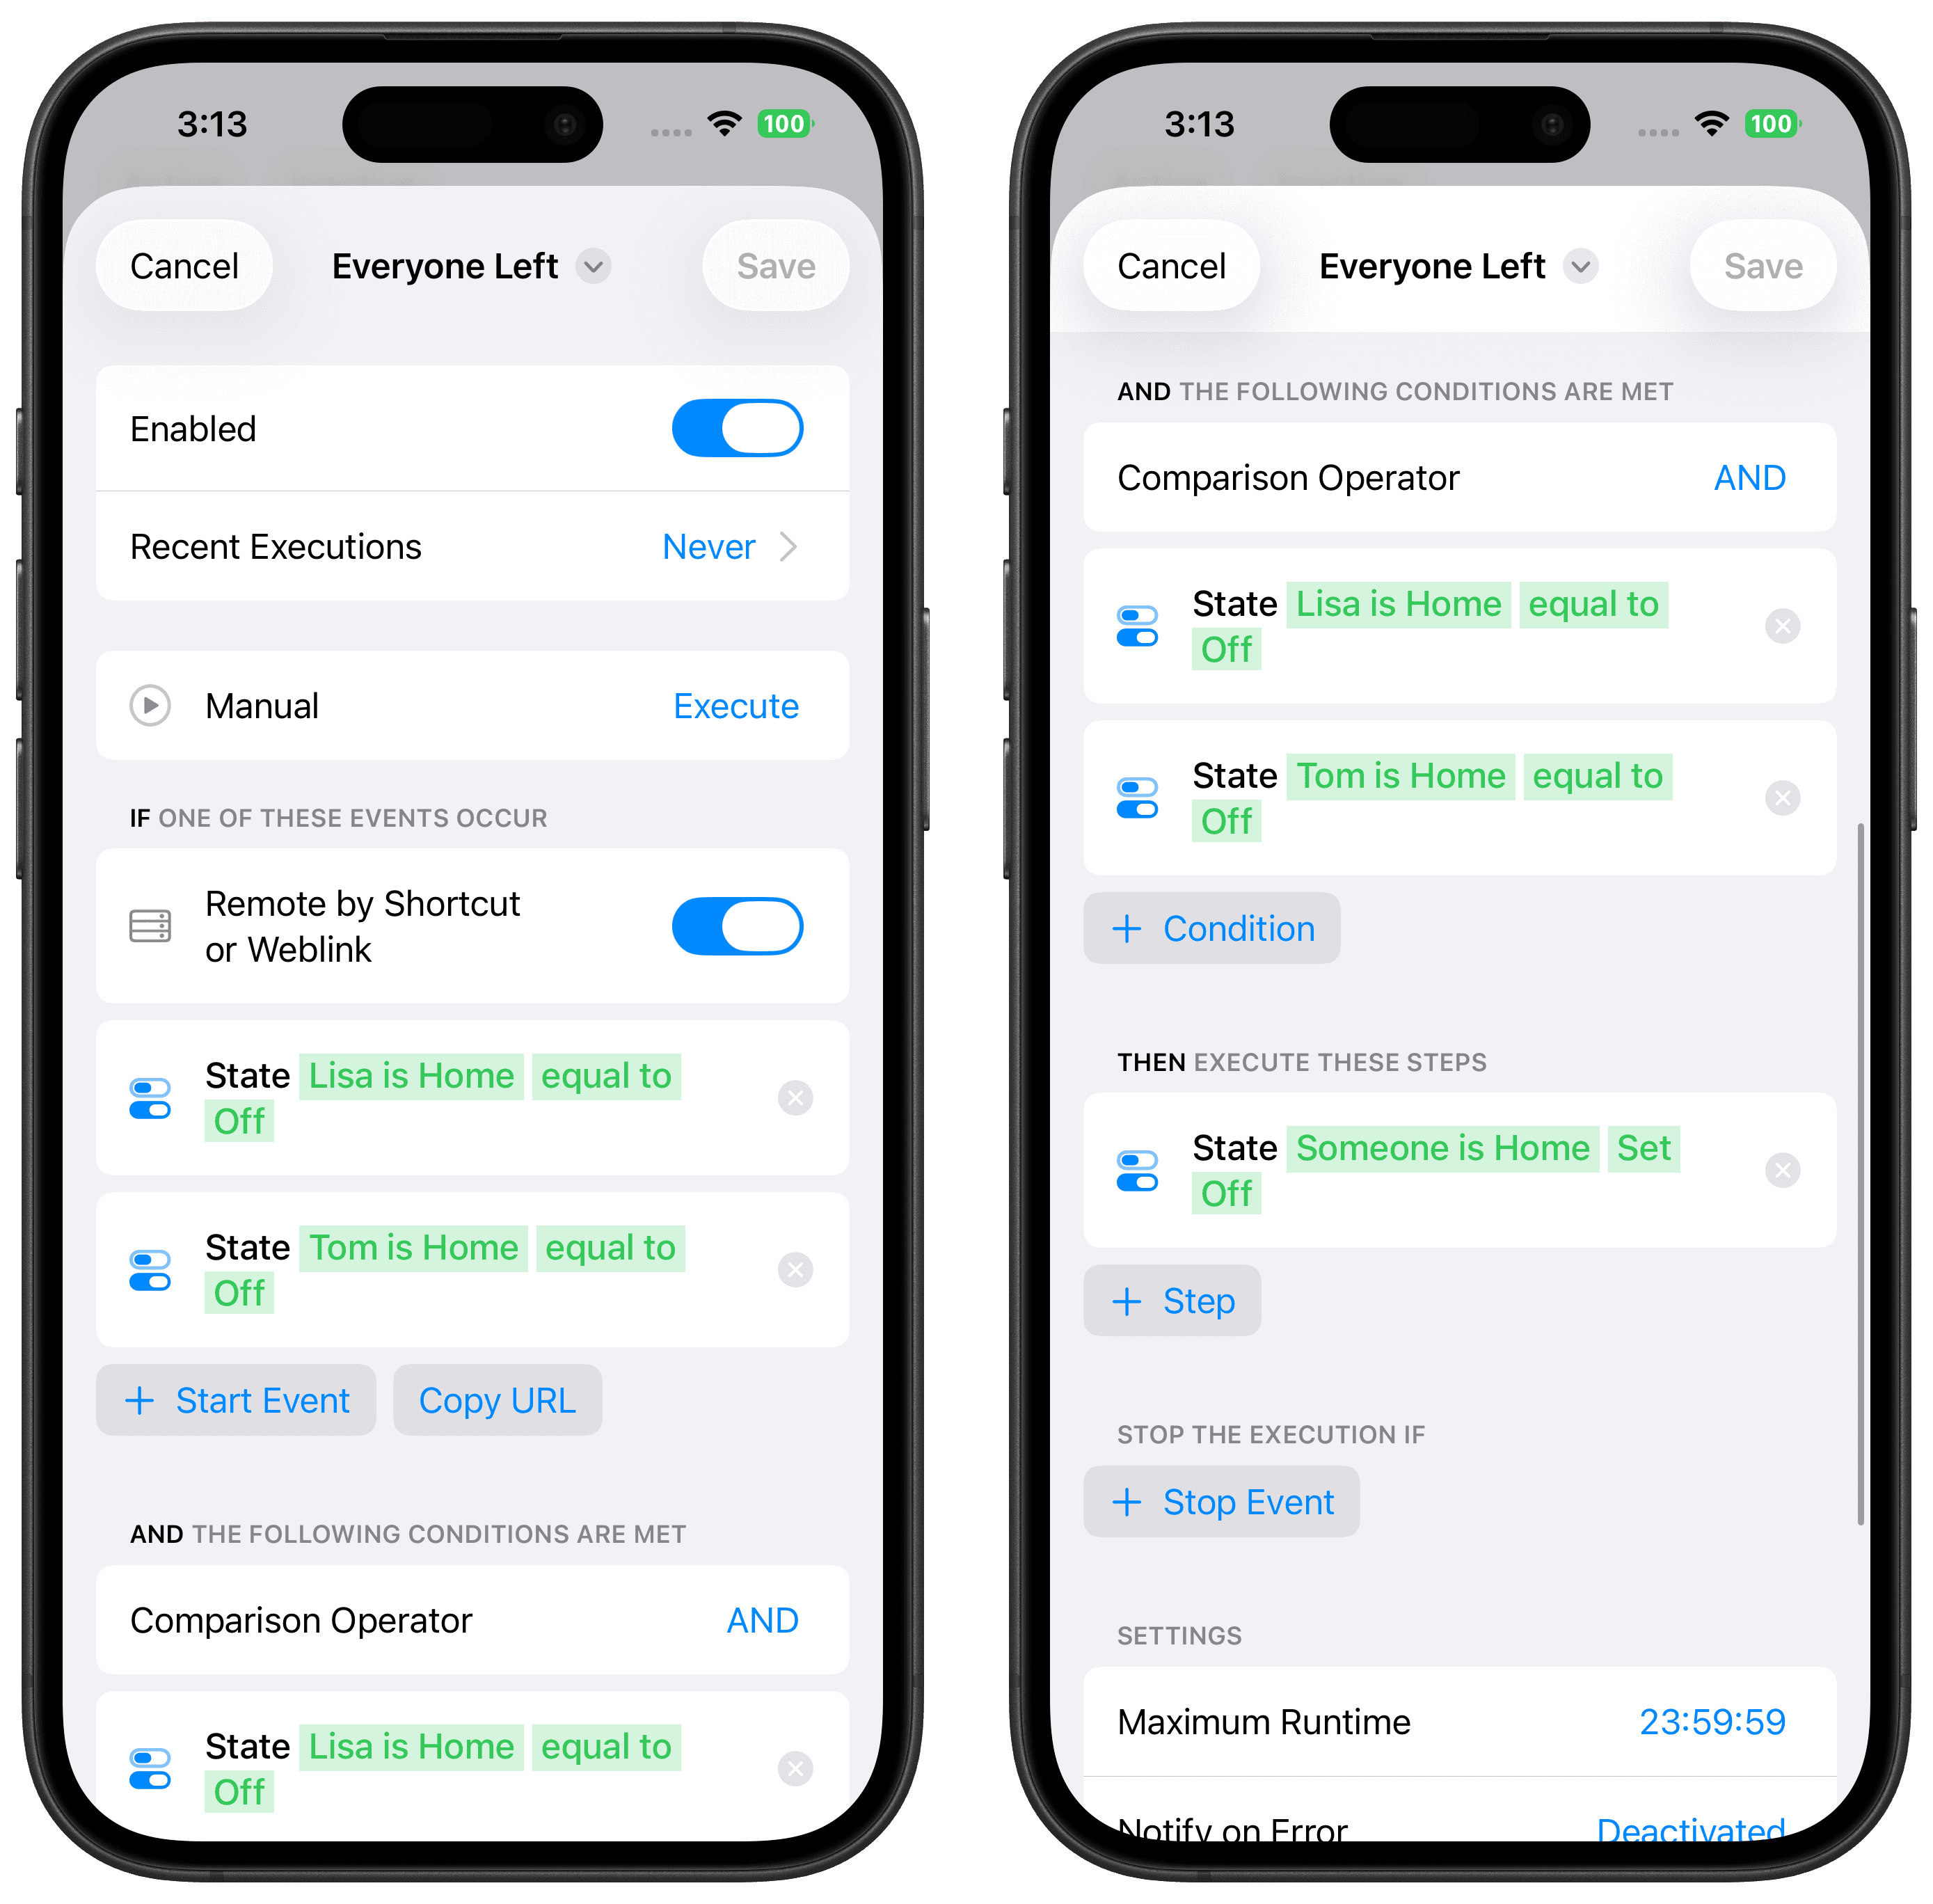
Next, create another workflow called "Everyone Left". Add each person's presence as a start event, this time triggered when their state turns off. Then add a condition for each person to make sure everyone is away, using AND as the comparison operator. Finally, add a State step and turn off "Someone is Home".
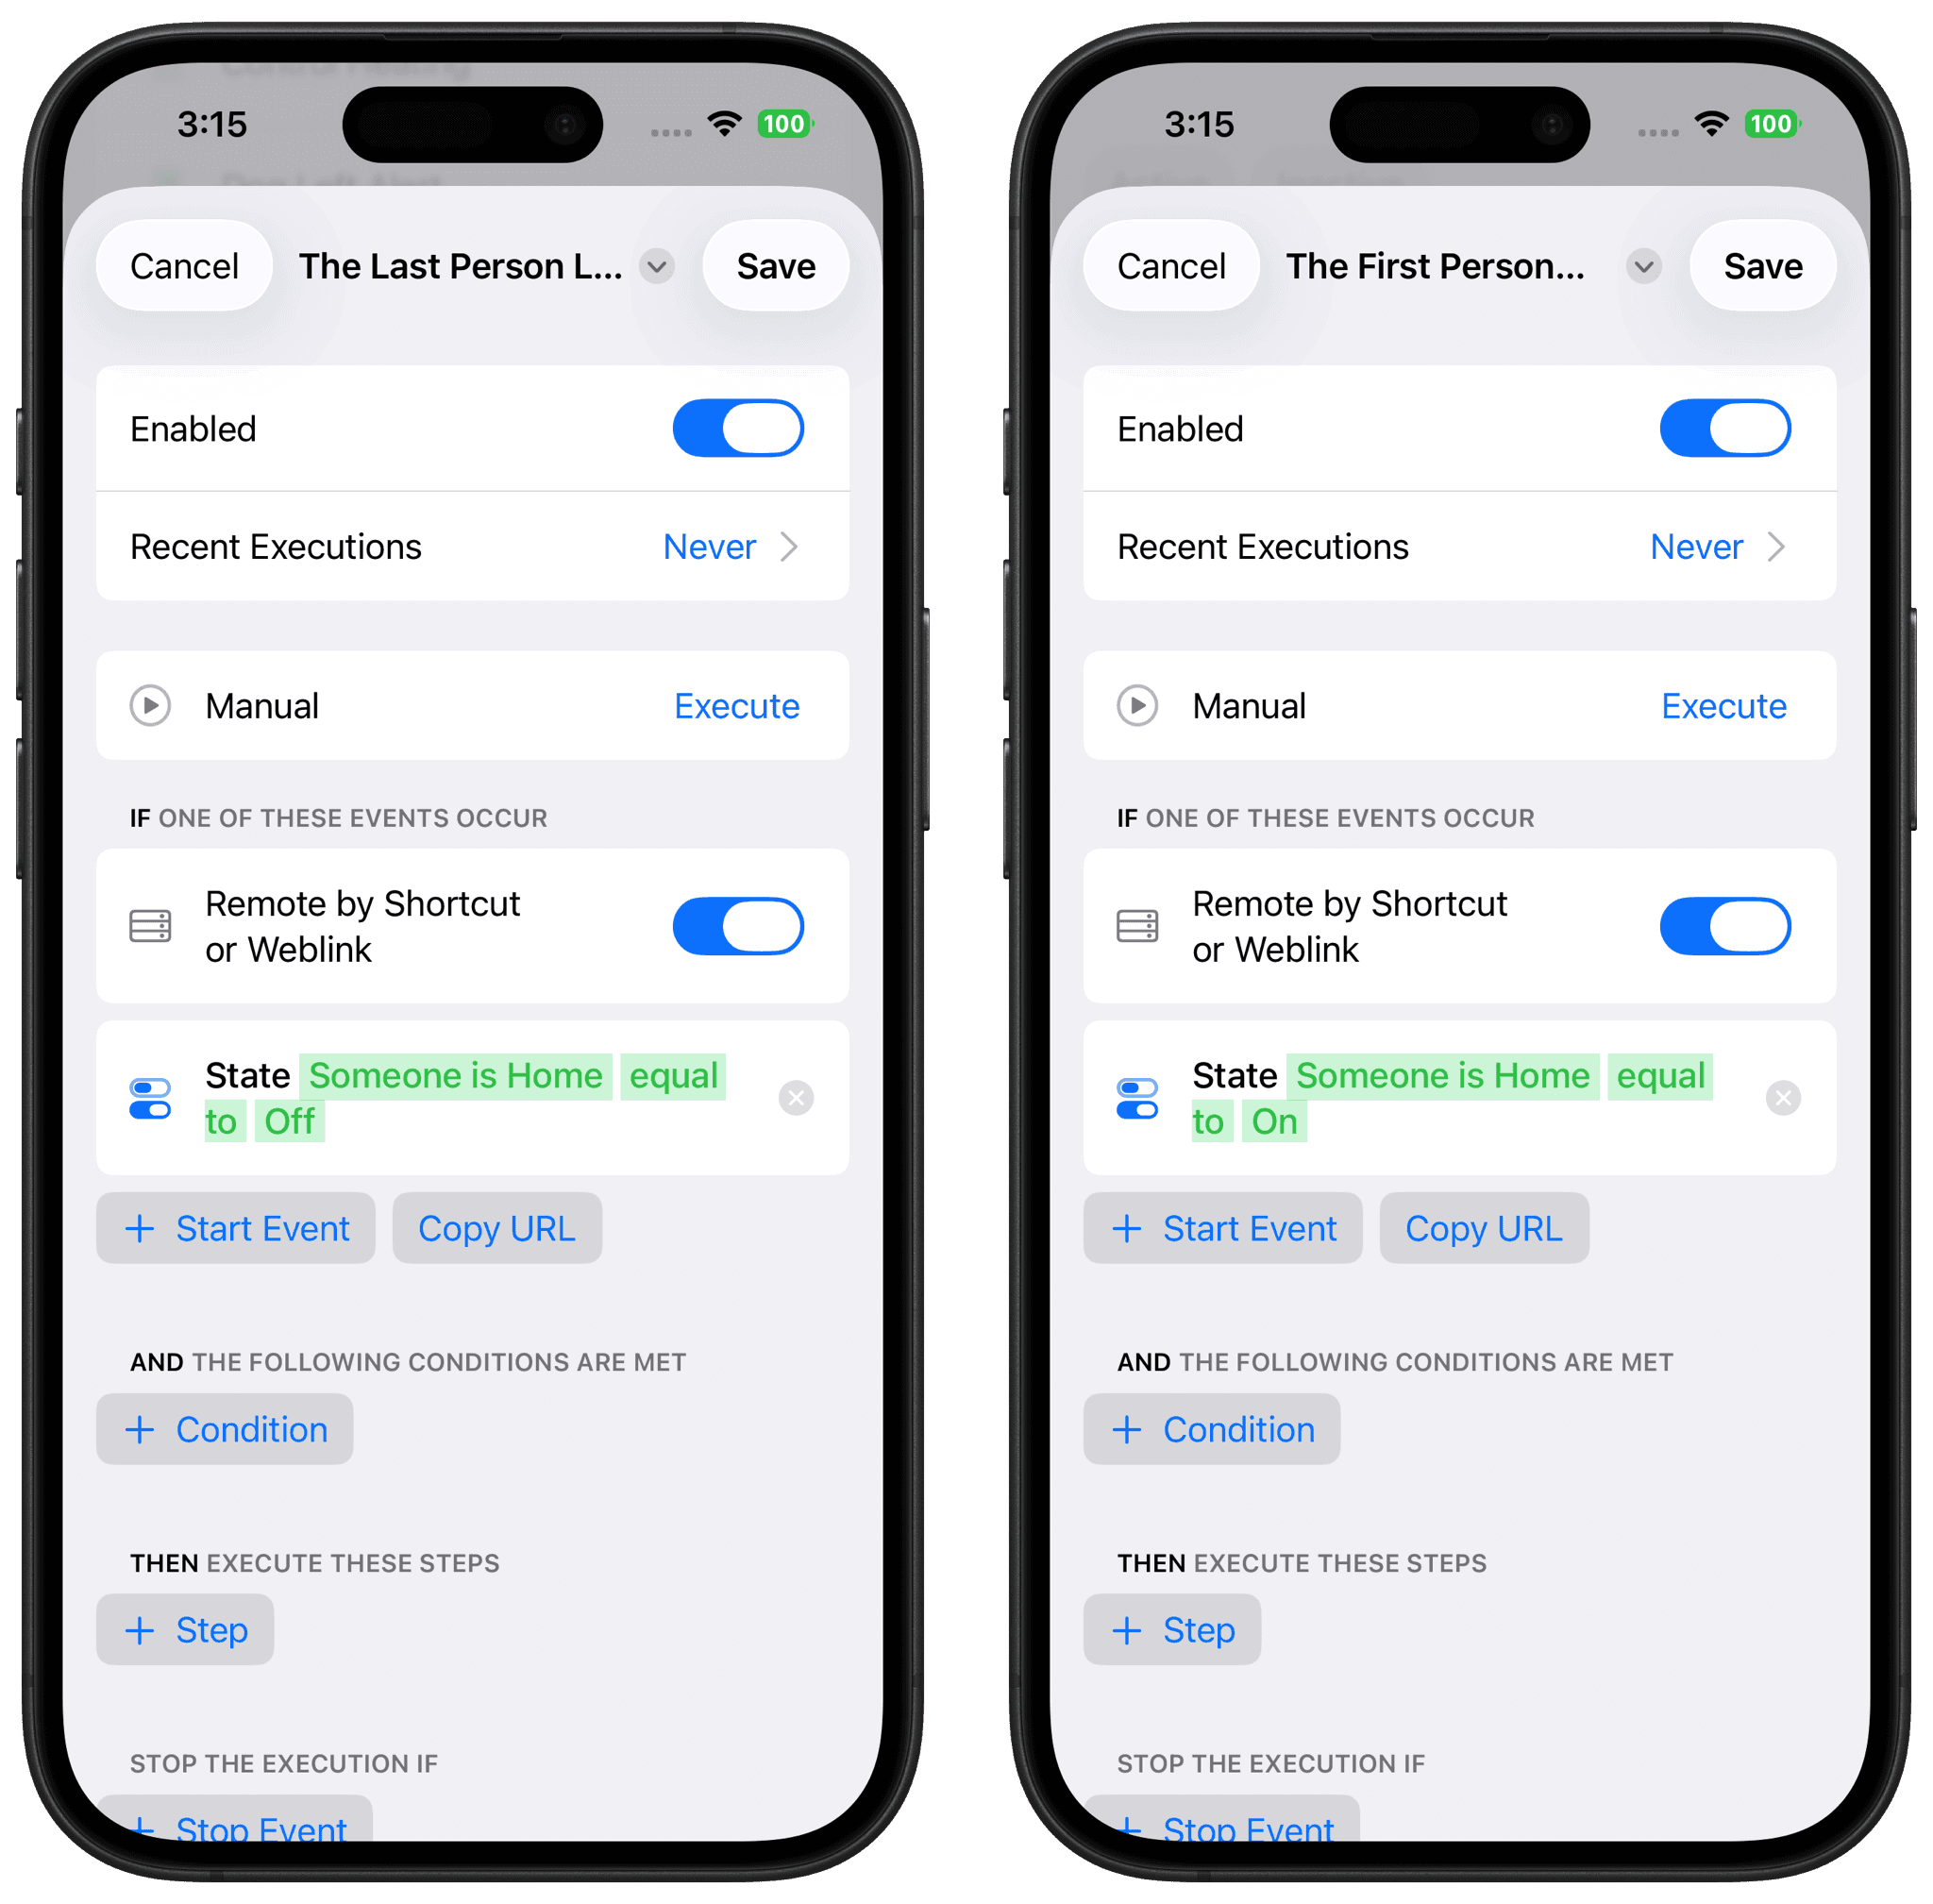
After that, you can use the "Someone is Home" state as a start event, condition, or stop event. It turns on when the first person arrives home and turns off when the last person leaves the house.

Get Inspired
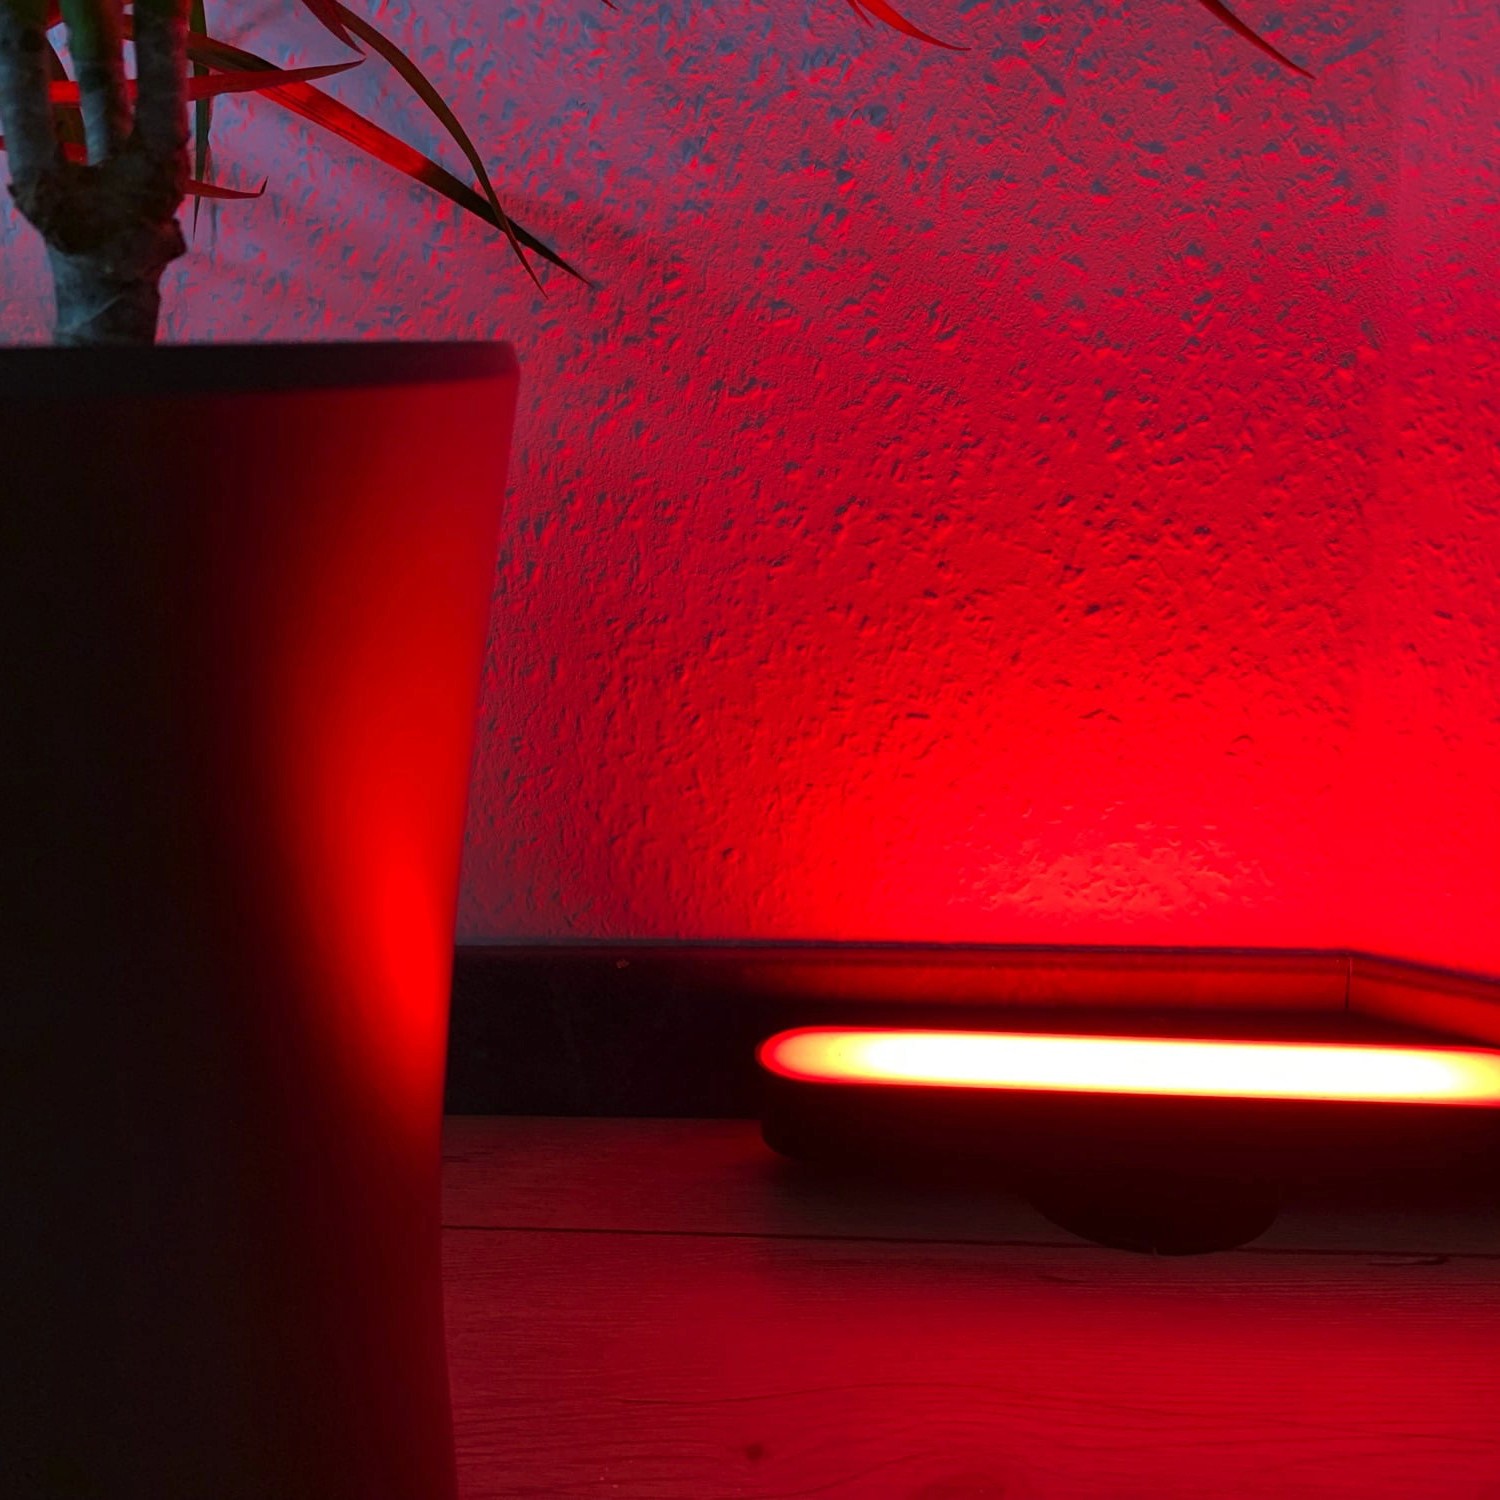
Meeting Light
Uses light color to show whether you’re in a meeting.
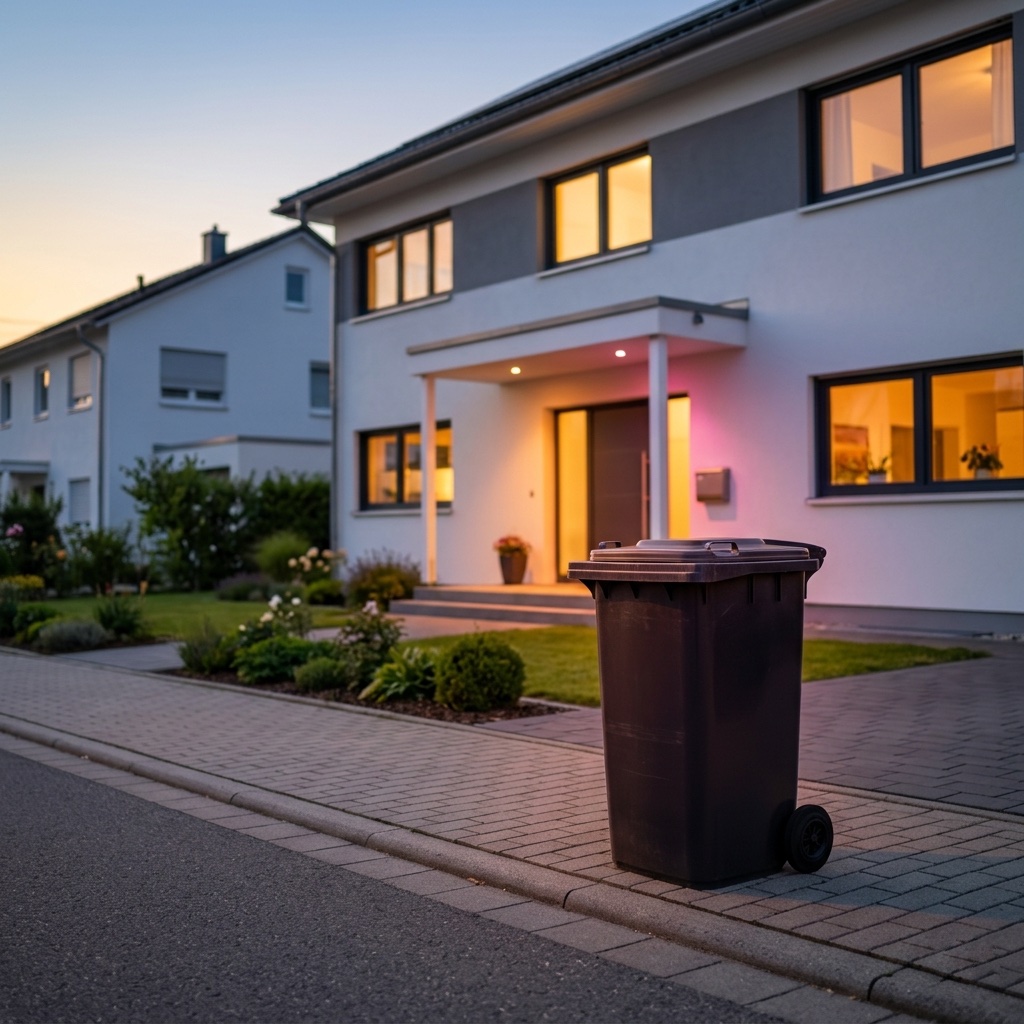
Waste Calendar
Never forget the bin again – with colored light and speech.

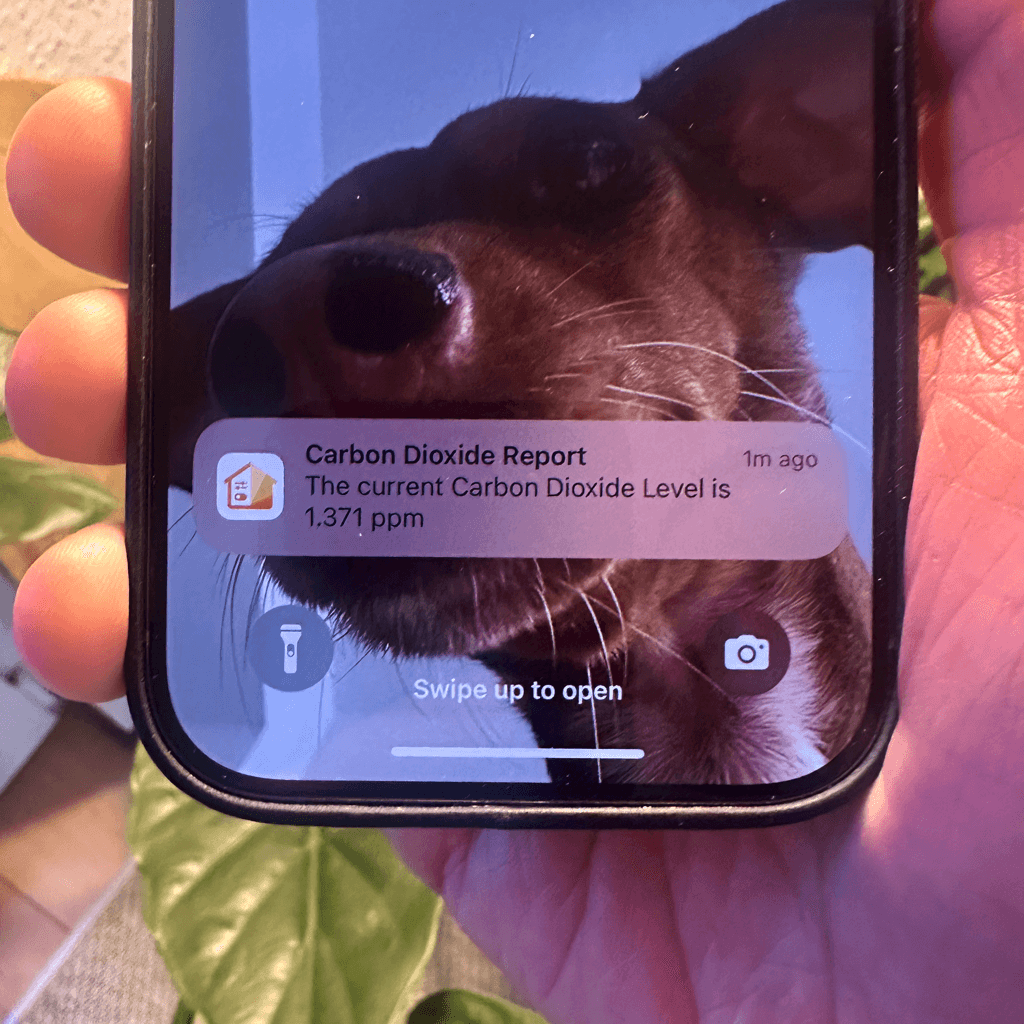
Carbon Dioxide Alert
Get notified when CO₂ levels exceed 1000 ppm.
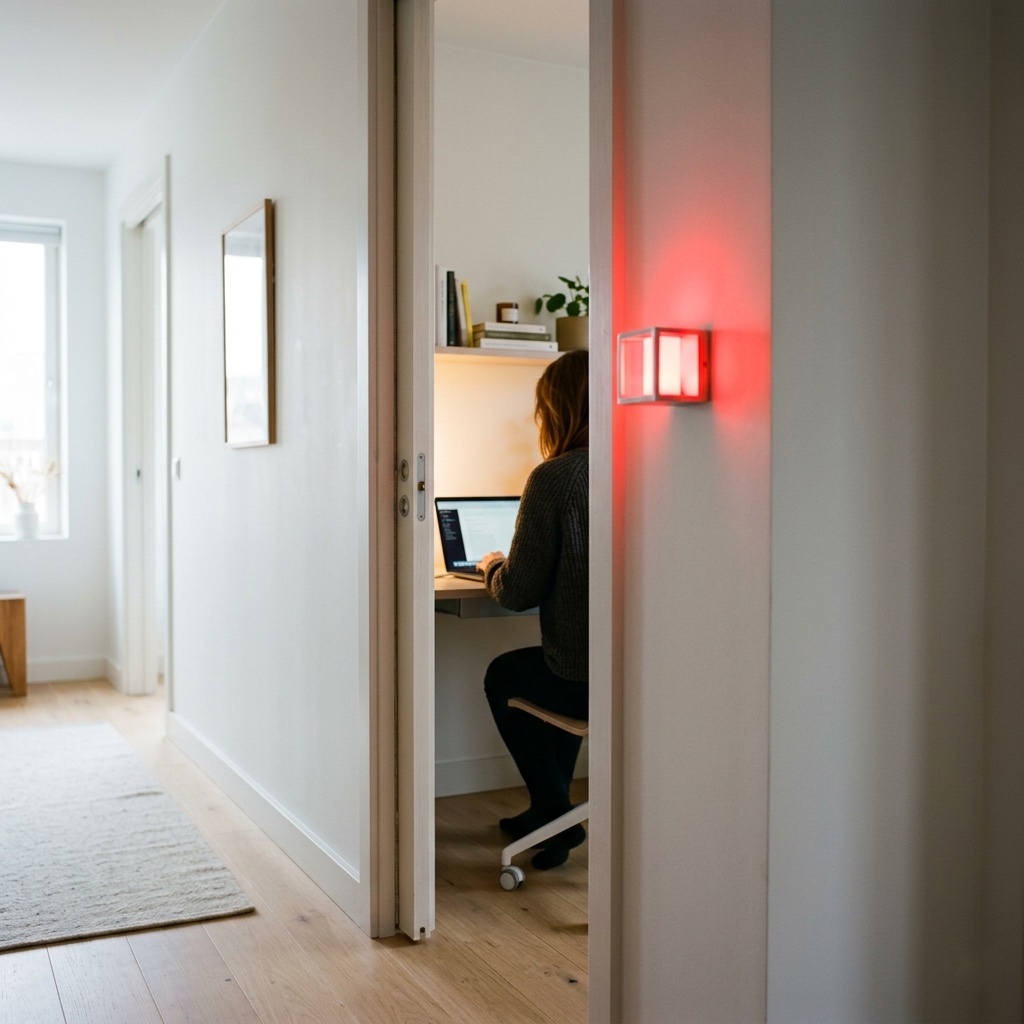
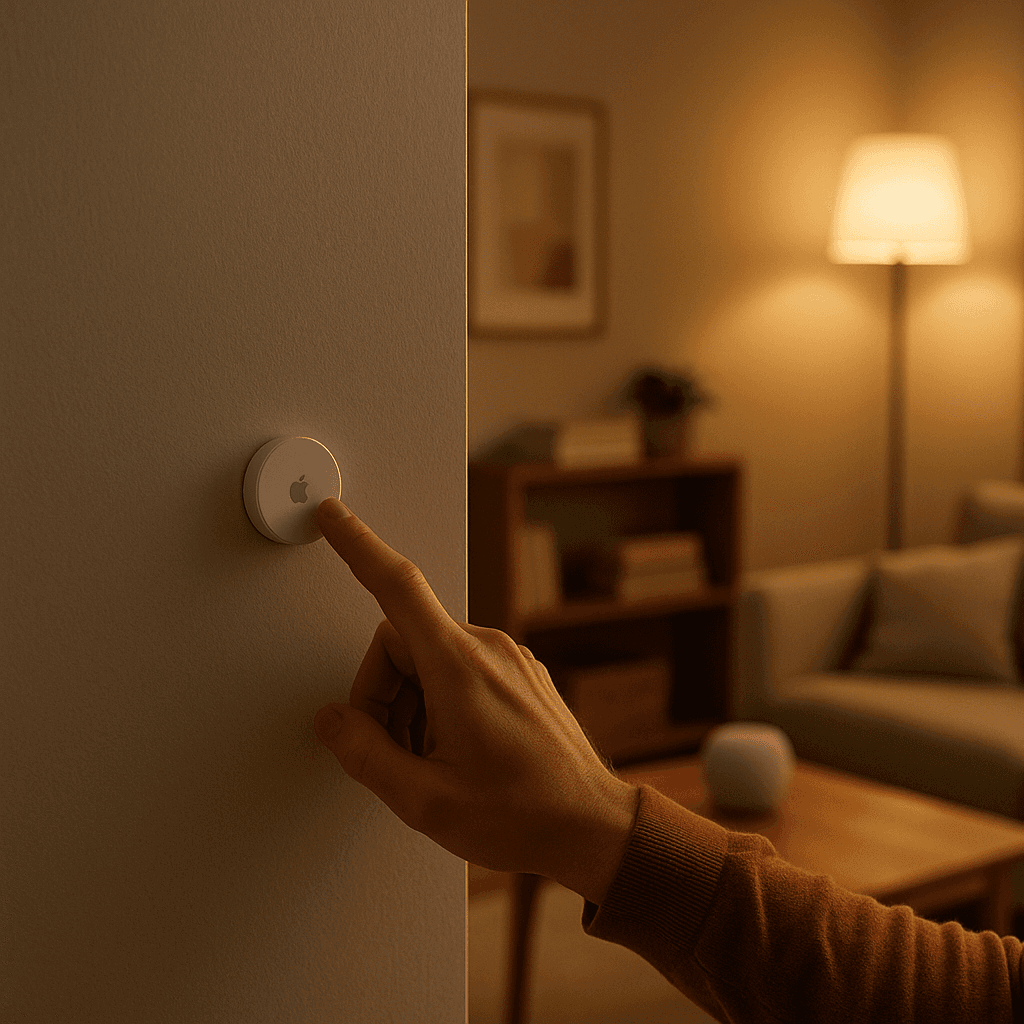
Location-Based Workflow
Automate your routines based on where you are.
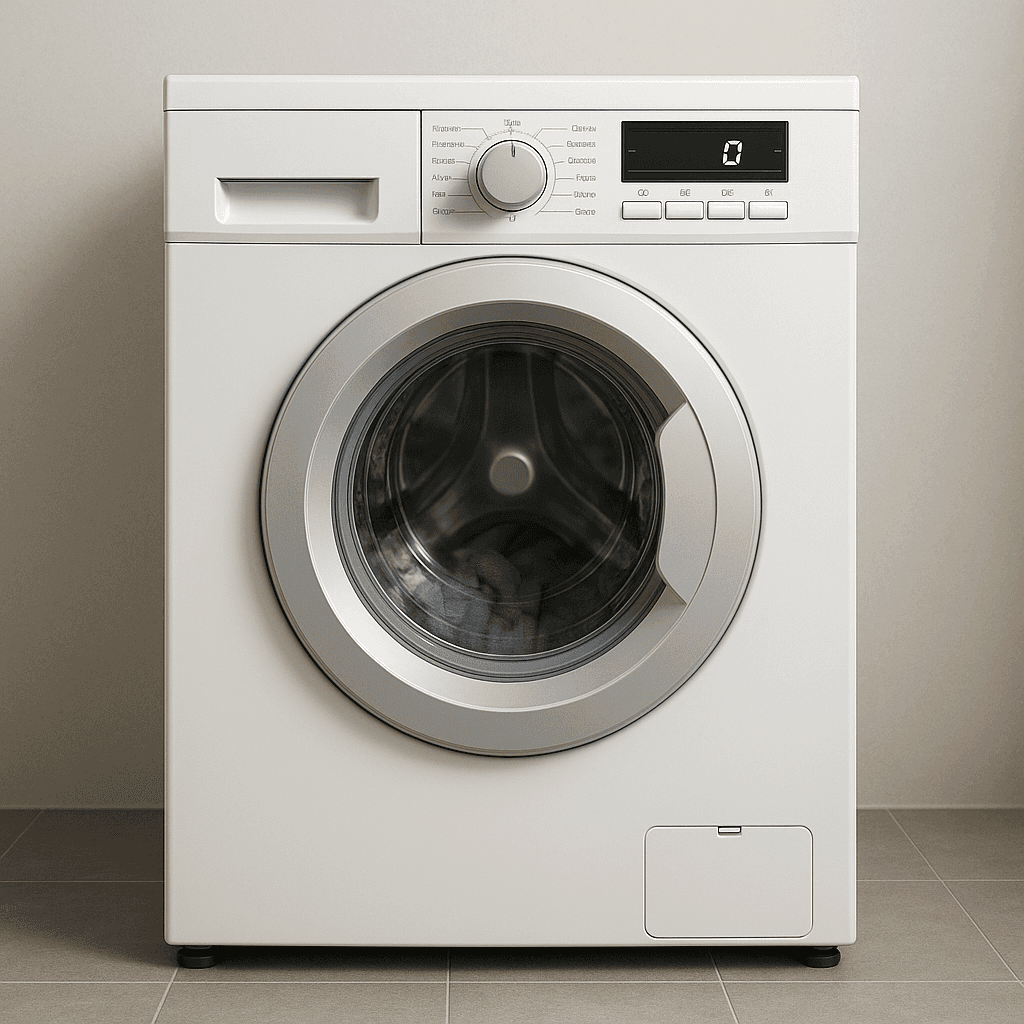
Laundry Done Alert
Receive a notification when your washing machine has finished.

Beat the Heat
Automatically close your blinds on hot days.
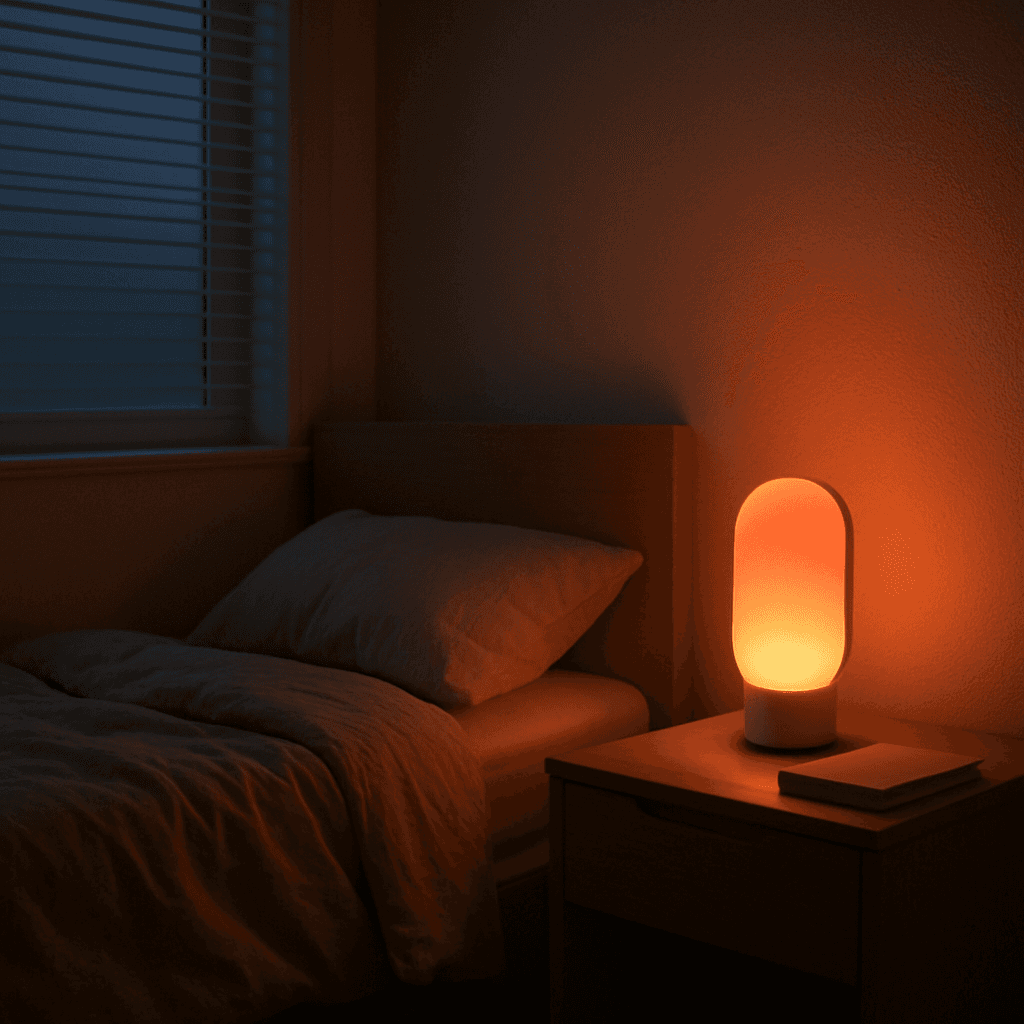
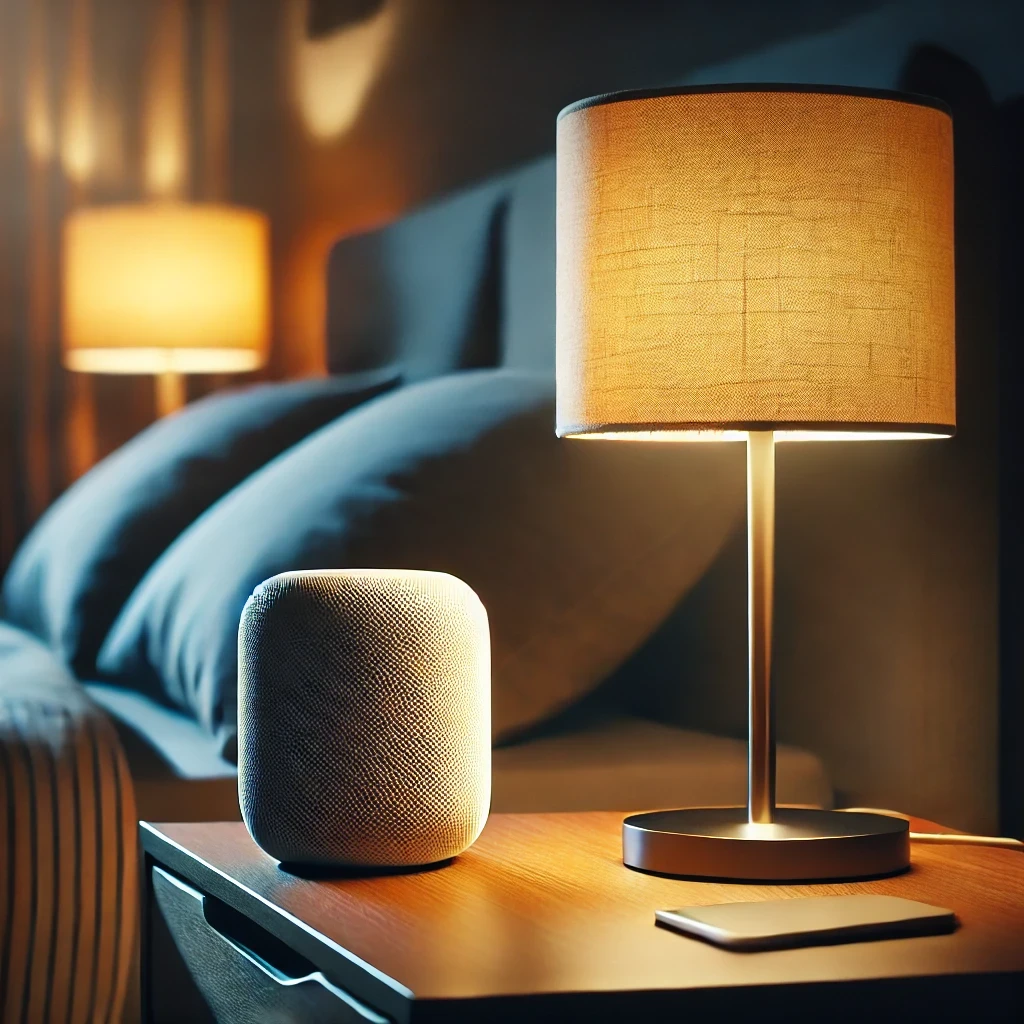
Wake-Up Light
Use any Apple Home Lamp as a Wake-Up Light.
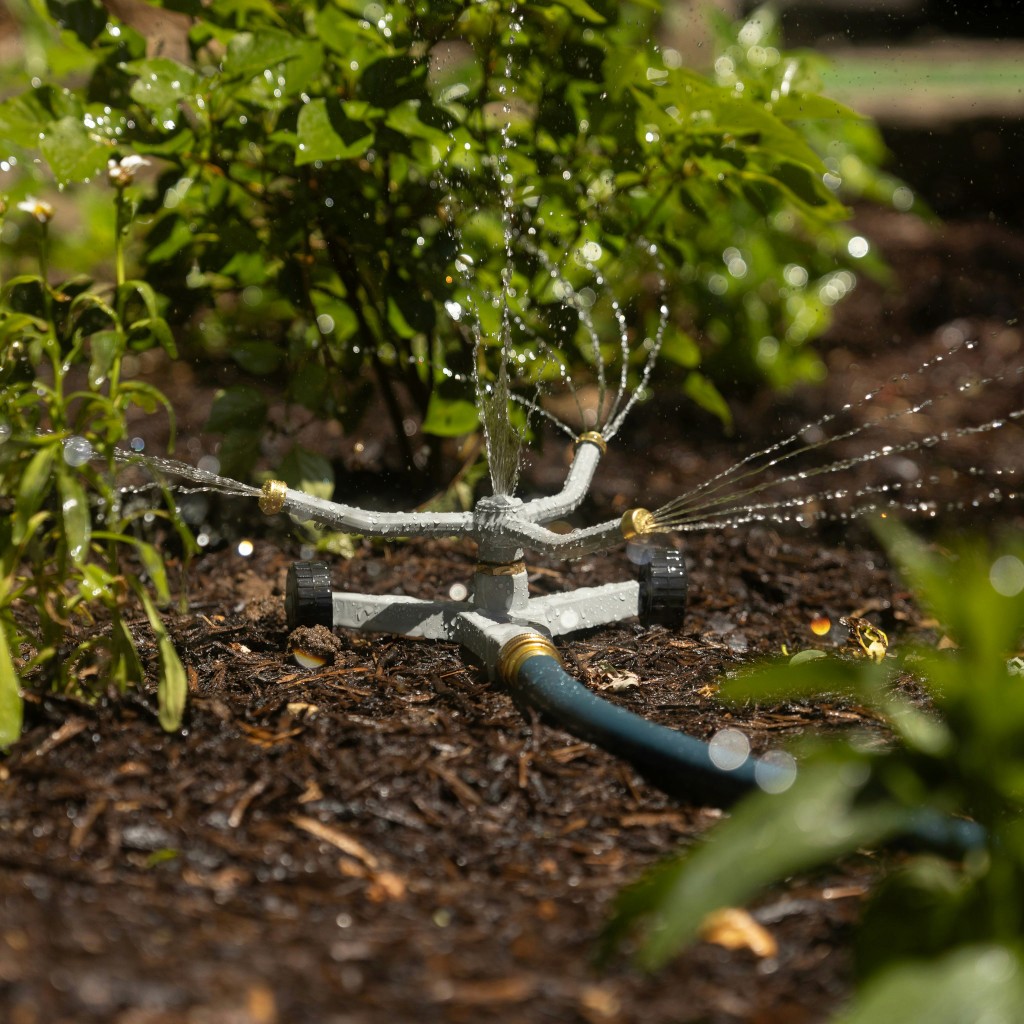
Irrigation Schedule
Keep your garden green.
Control Lights with Multiple Motion Sensors
For large or irregularly shaped spaces.
Stepwise Brightness Control via Button
Control light brightness step by step.
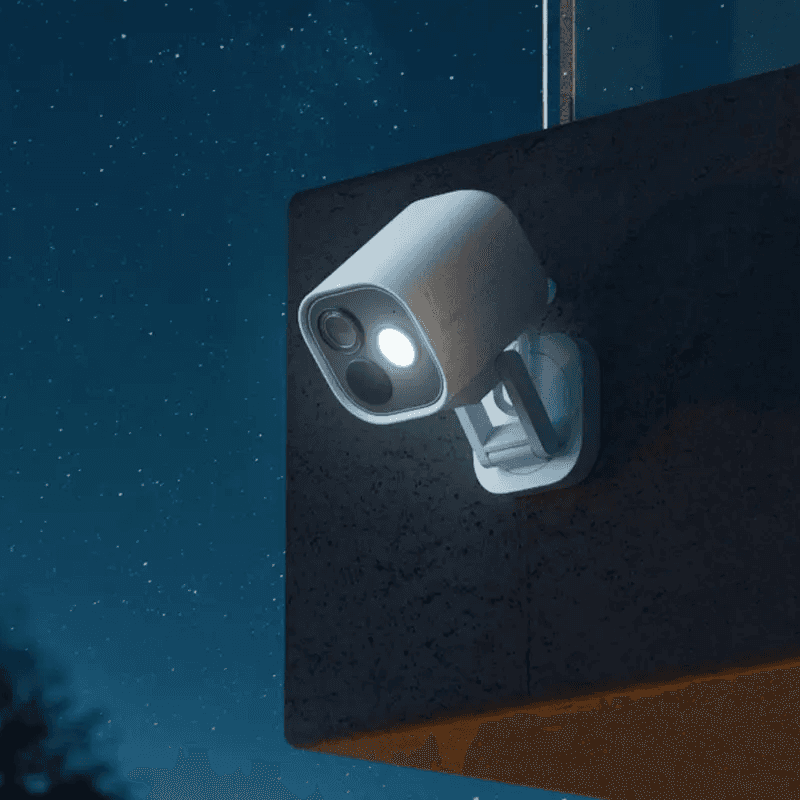
Custom Notification with Live Camera Feed
Open the camera stream instantly.
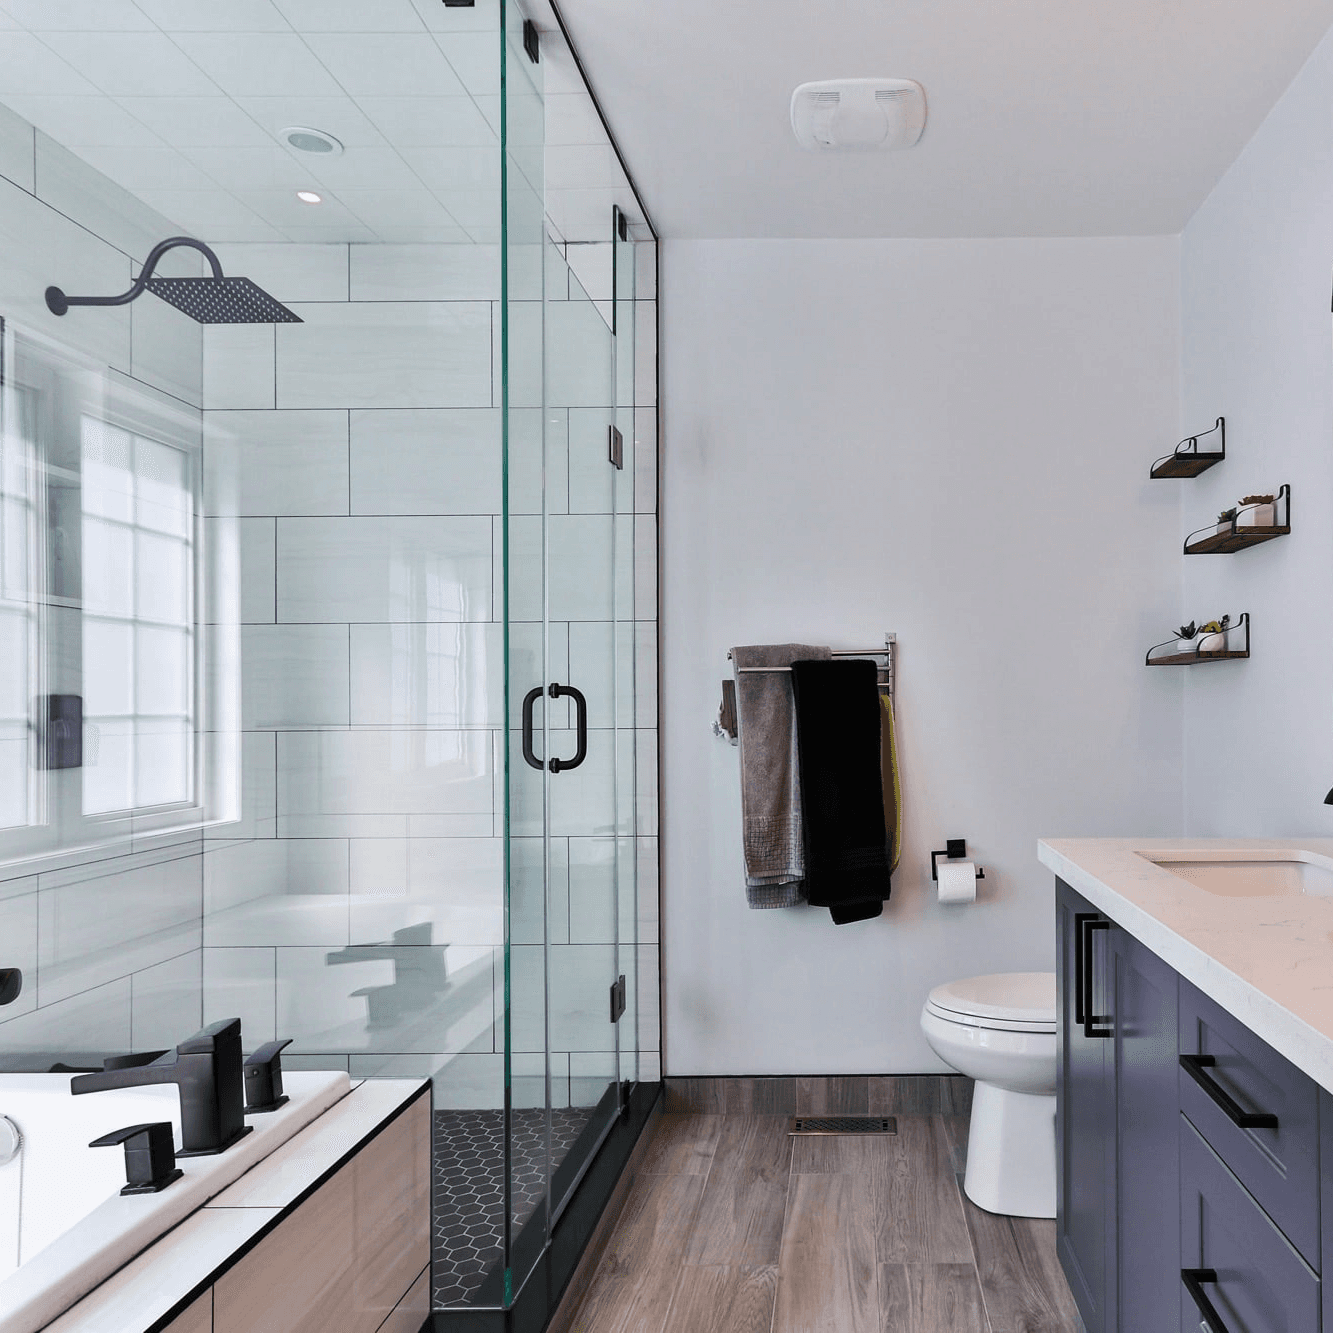
Smart Bathroom Fan Control
Make your fan truly intelligent.
New Mail Notification
Get notified when new mail arrives.
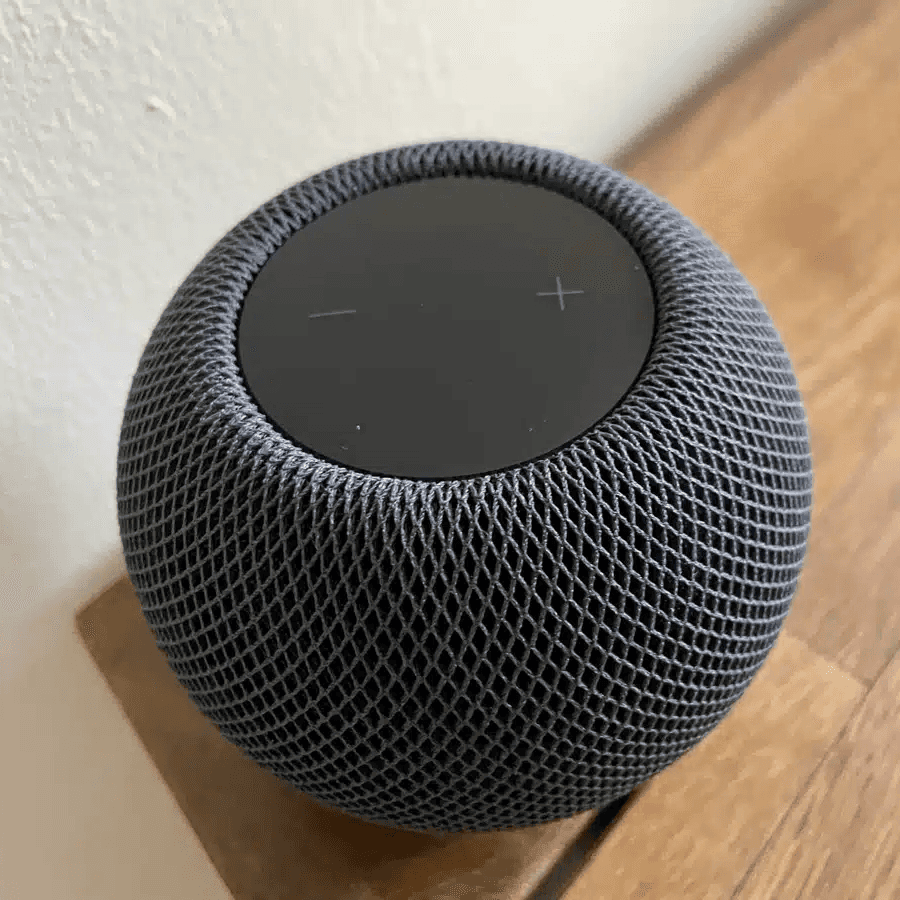
Integrate Speakers into Workflows
Control volume, play music, or pause playback.
Battery Warning
Get battery alerts when they matter.
Sleep Timer
Use a sleep timer with Apple Home.

Execute Workflow Only Once a Day
Ensures the workflow runs only once.
Accessory Values in Notifications
Send notifications featuring real-time accessory values.
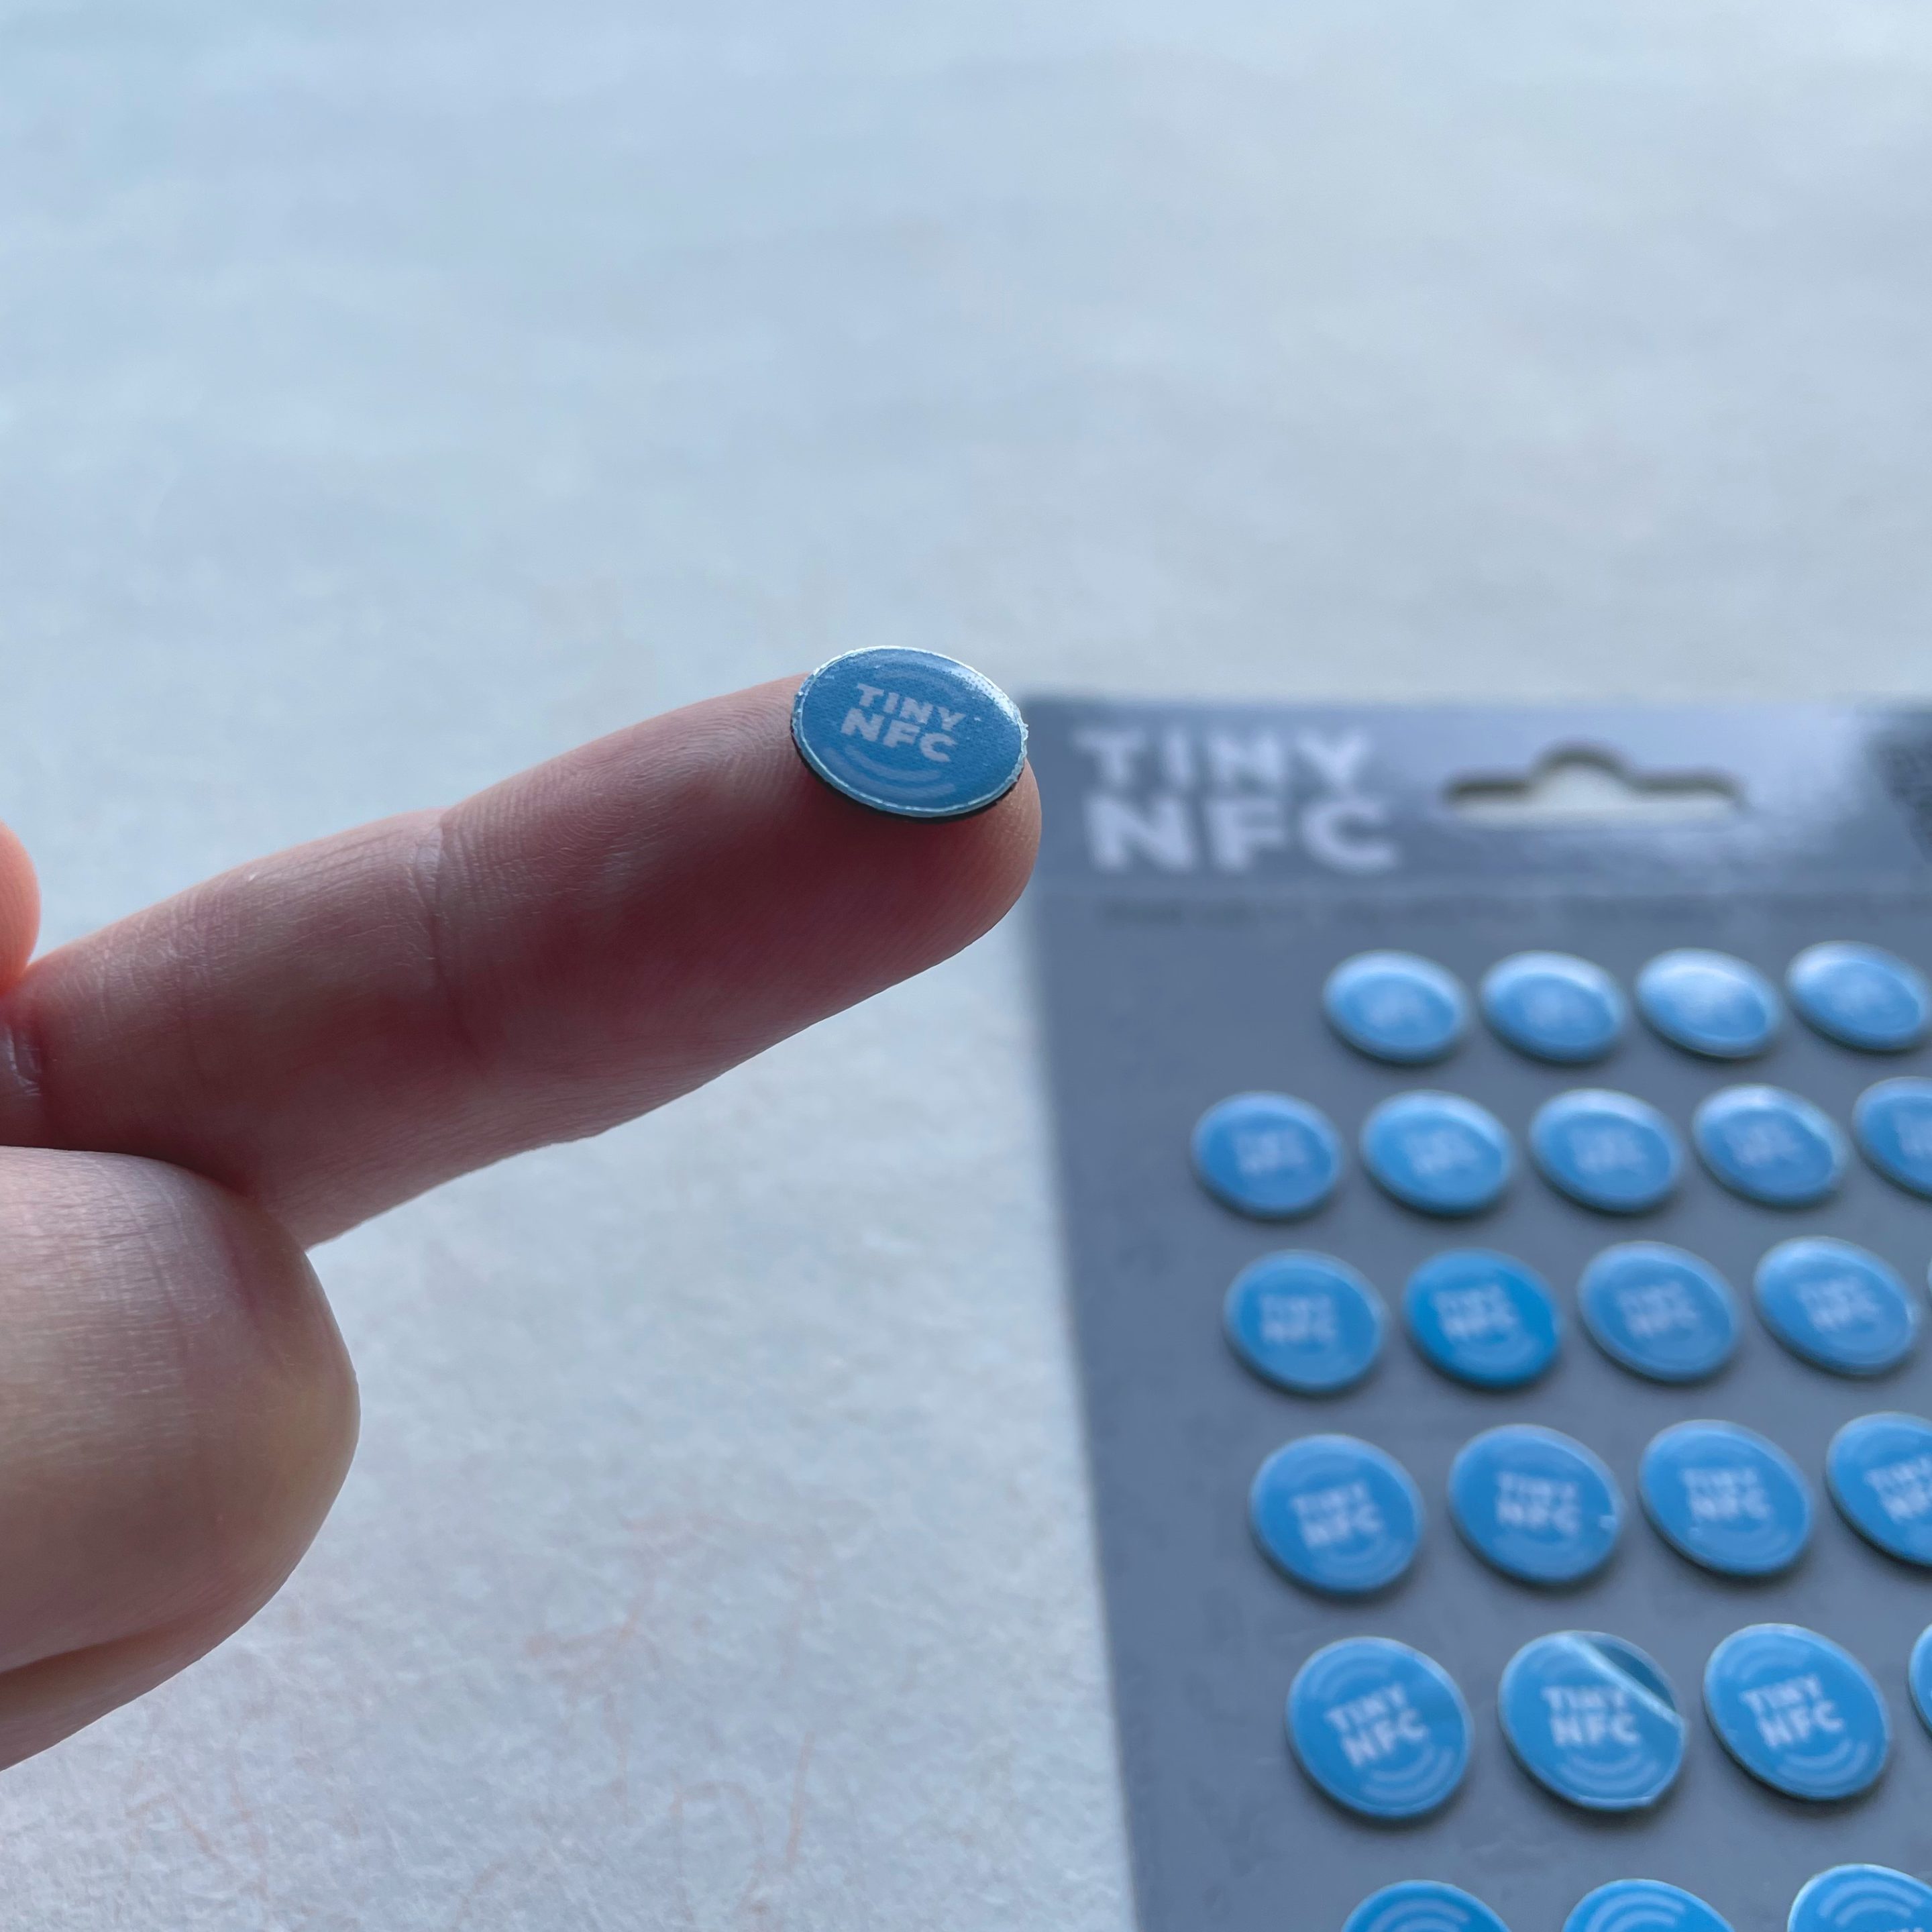
NFC Tags
Automate Apple Home Accessories with NFC.
Blink Lights
Make a light blink and effortlessly return it to its original state.
Display Camera When Motion Is Detected
Automatically display the camera livestream whenever motion is detected.
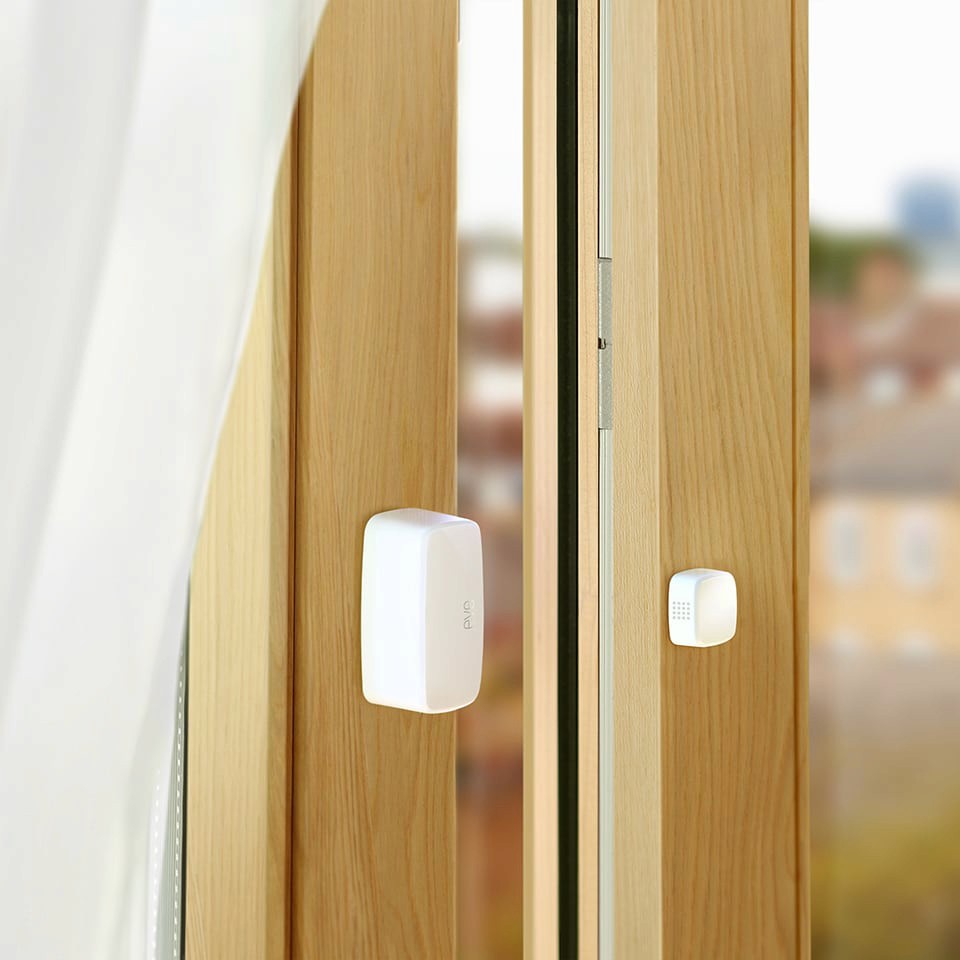
Open Window Reminder
Get a reminder if you forget to close a window after ventilating.
Toggle Lamp
Easily toggle a lamp using a single switch.
Turn Light Off Using Motion Sensor
Efficiently control your lighting with a motion sensor.